
The chapter entitled SwiftUI State Properties, Observable, State and Environment Objects introduced the concept of observable and environment objects and explained how these are used to implement a data-driven approach to app development in SwiftUI.
This chapter will build on the knowledge from the earlier chapter by creating a simple example project that uses both observation and environment objects.
About the ObservableDemo Project
Observable objects are particularly powerful when used to wrap dynamic data (in other words, data values that change repeatedly). To simulate data of this type, an observable data object will be created, which uses the Foundation framework Timer object configured to update a counter once every second. This counter will be published so that it can be observed by views within the app project.
Initially, the data will be treated as an observable object and passed from one view to another. Later in the chapter, the data will be converted to an environment object so that it can be accessed by multiple views without being passed between views.
Creating the Project
Launch Xcode and select the option to create a new Multiplatform App project named ObservableDemo.
 |
You are reading a sample chapter from an old edition of iOS App Development Essentials. Purchase the fully updated iOS 18 App Development Essentials book. The full book contains 71 chapters, over 612 pages of in-depth information, downloadable source code, and access to over 50 SwiftUI knowledge test quizzes. |
Adding the Observable Object
The first step after creating the new project is to add an observable data class. Within Xcode, select the File -> New -> File… menu option and, in the resulting template dialog, select the Swift File option. Click the Next button and name the file TimerData before clicking the Create button.
With the TimerData.swift file loaded into the code editor, implement the TimerData class as follows:
import Foundation

@Observable class TimerData {

    var timeCount = 0
    var timer : Timer?

    init() {
        timer = Timer.scheduledTimer(
                  withTimeInterval: 1.0, repeats: true) {_ in
            self.update()
        }
    }

    func update() {
        timeCount += 1
    }

    func resetCount() {
        timeCount = 0
    }
}Code language: Swift (swift)
The class is declared as implementing the Observation and contains an initializer that configures a Timer instance to call a function named update() once every second, which, in turn, increments the value assigned to the timeCount variable. The class also includes a method named resetCount() to reset the counter to zero.
Designing the ContentView Layout
The user interface for the app will consist of two screens, the first of which will be represented by the ContentView.swift file. Select this file to load it into the code editor and modify it so that it reads as follows:
import SwiftUI
struct ContentView: View {
var timerData: TimerData = TimerData()
var body: some View {
NavigationView {
VStack {
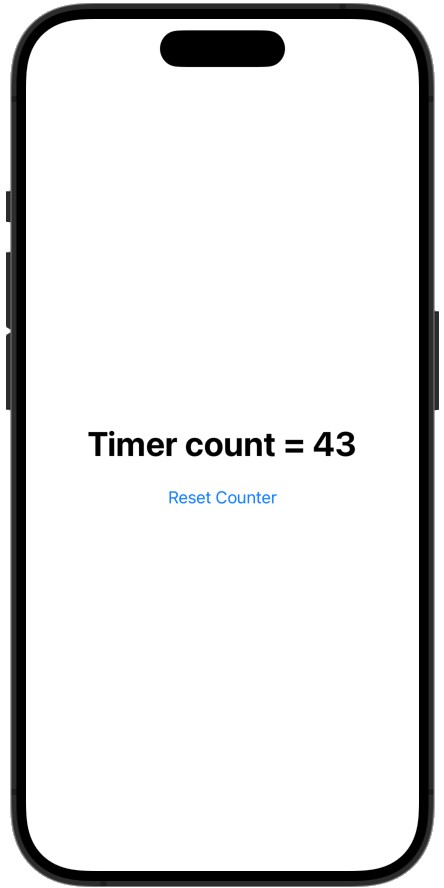
Text("Timer count = \(timerData.timeCount)")
.font(.largeTitle)
.fontWeight(.bold)
.padding()
Button(action: resetCount) {
Text("Reset Counter")
}
}
}
}
func resetCount() {
timerData.resetCount()
}
}
#Preview {
ContentView()
}Code language: Swift (swift)With the changes made, use Live Preview to test the view. Once the Live Preview starts, the counter should begin incrementing:
|
You are reading a sample chapter from an old edition of iOS App Development Essentials. Purchase the fully updated iOS 18 App Development Essentials book. The full book contains 71 chapters, over 612 pages of in-depth information, downloadable source code, and access to over 50 SwiftUI knowledge test quizzes. |
Next, click on the Reset Counter button and verify that the counter restarts counting from zero. Now that the initial implementation is working, the next step is to add a second view which will also need access to the same observable object.
Adding the Second View
Select the File -> New -> File… menu option, this time choosing the SwiftUI View template option and naming the view SecondView. Edit the SecondView.swift file so that it reads as follows:
import SwiftUI
struct SecondView: View {
var timerData: TimerData
var body: some View {
VStack {
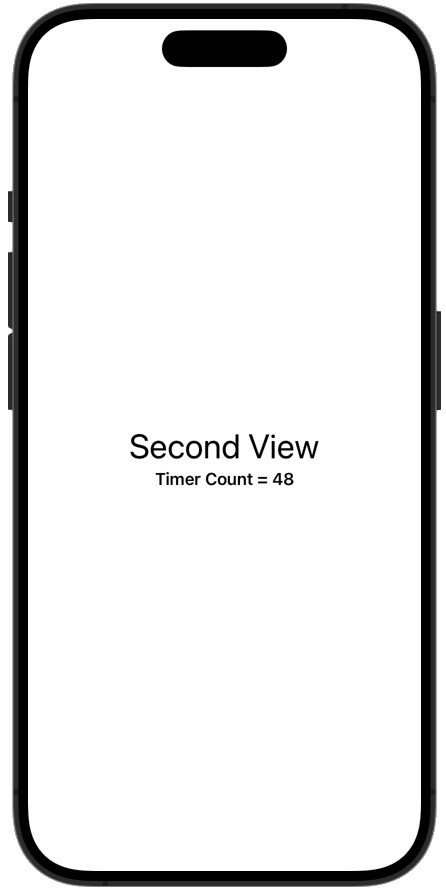
Text("Second View")
.font(.largeTitle)
Text("Timer Count = \(timerData.timeCount)")
.font(.headline)
}
.padding()
}
}
#Preview {
SecondView(timerData: TimerData())
}Code language: Swift (swift)Use Live Preview to test that the layout matches Figure 27-2 and that the timer begins counting.
In the Live Preview, the view has its own instance of TimerData, which was configured in the SecondView_ Previews declaration. To make sure that both ContentView and SecondView are using the same TimerData instance, the observed object needs to be passed to the SecondView when the user navigates to the second screen.
Adding Navigation
A navigation link now needs to be added to ContentView and configured to navigate to the second view. Open the ContentView.swift file in the code editor and add this link as follows:
|
You are reading a sample chapter from an old edition of iOS App Development Essentials. Purchase the fully updated iOS 18 App Development Essentials book. The full book contains 71 chapters, over 612 pages of in-depth information, downloadable source code, and access to over 50 SwiftUI knowledge test quizzes. |
var body: some View {

    NavigationView {
        VStack {
            Text("Timer count = \(timerData.timeCount)")

                .font(.largeTitle)
                .fontWeight(.bold)
                .padding()

            Button(action: resetCount) {
                Text("Reset Counter")
            }

            NavigationLink(destination:
                       SecondView(timerData: timerData)) {
                Text("Next Screen")
            }
            .padding()
        }
    }
}Code language: Swift (swift)
Once again, using Live Preview, test the ContentView and check that the counter increments. Taking note of the current counter value, click on the Next Screen link to display the second view and verify that counting continues from the same number. This confirms that both views are subscribed to the same observable object instance.
Using an Environment Object
The final step in this tutorial is to convert the observable object to an environment object. This will allow both views to access the same TimerData object without needing a reference to be passed from one view to the other.
This change does not require any modifications to the TimerData.swift class declaration, and only minor changes are needed within the two SwiftUI view files. Starting with the ContentView.swift file, modify the navigation link destination so that timerData is no longer passed through to SecondView. Also add a call to the environment() modifier to insert the timerData instance into the view hierarchy environment:
import SwiftUI

struct ContentView: View {

    var timerData: TimerData = TimerData()

    var body: some View {

        NavigationView {
.
.
                NavigationLink(destination: SecondView(timerData: timerData)) {
                    Text("Next Screen")
                }
                .padding()
            }
        }
        .environment(timerData)
    }
.
.
#Preview {
    ContentView()
}Code language: Swift (swift)
Next, modify the SecondView.swift file so that it reads as follows:
import SwiftUI

struct SecondView: View {

    @Environment(TimerData.self) var timerData: TimerData

    var body: some View {

        VStack {
            Text("Second View")
                .font(.largeTitle)
            Text("Timer Count = \(timerData.timeCount)")
                .font(.headline)
        }.padding()
    }
}

#Preview {
    SecondView().environment(TimerData())
}Code language: Swift (swift)
Test the project one last time, either using Live Preview or running on a physical device or simulator, and check that both screens access the same counter data via the environment.
|
You are reading a sample chapter from an old edition of iOS App Development Essentials. Purchase the fully updated iOS 18 App Development Essentials book. The full book contains 71 chapters, over 612 pages of in-depth information, downloadable source code, and access to over 50 SwiftUI knowledge test quizzes. |
Summary
This chapter has worked through a tutorial demonstrating the use of observed and environment objects to bind dynamic data to the views in a user interface, including implementing an observable object, publishing a property, subscribing to an observable object, and using environment objects.