
One of the key strengths of SwiftUI is that, through the use of features such as views, state properties, and observable objects, much of the work required in making sure an app handles lifecycle changes correctly is performed automatically.
It is still often necessary, however, to perform additional actions when certain lifecycle events occur. An app might, for example, need to perform a sequence of actions at the point that a view appears or disappears within a layout. Similarly, an app may need to execute some code each time a value changes or to detect when a view becomes active or inactive. It will also be a common requirement to launch one or more asynchronous tasks at the beginning of a view lifecycle.
All of these requirements and more can be met by making use of a set of event modifiers provided by SwiftUI.
Since event modifiers are best understood when seen in action, this chapter will create a project using the four most commonly used modifiers.
Creating the LifecycleDemo Project
Launch Xcode and select the option to create a new Multiplatform App project named LifecycleDemo.
 |
You are reading a sample chapter from an old edition of iOS App Development Essentials. Purchase the fully updated iOS 18 App Development Essentials book. The full book contains 71 chapters, over 612 pages of in-depth information, downloadable source code, and access to over 50 SwiftUI knowledge test quizzes. |
Designing the App
Begin by editing the ContentView.swift file and modifying the body declaration so that it reads as follows:
import SwiftUI

struct ContentView: View {

    var body: some View {
        TabView {
            TabView {
                FirstTabView()
                    .tabItem {
                        Image(systemName: "01.circle")
                        Text("First")
                    }

                SecondTabView()
                    .tabItem {
                        Image(systemName: "02.circle")
                        Text("Second")
                    }
            }
        }
    }
}Code language: Swift (swift)
Select the Xcode File -> New -> File… menu option and in the resulting template panel, select the SwiftUI View option from the User Interface section as shown in Figure 26-1 below:
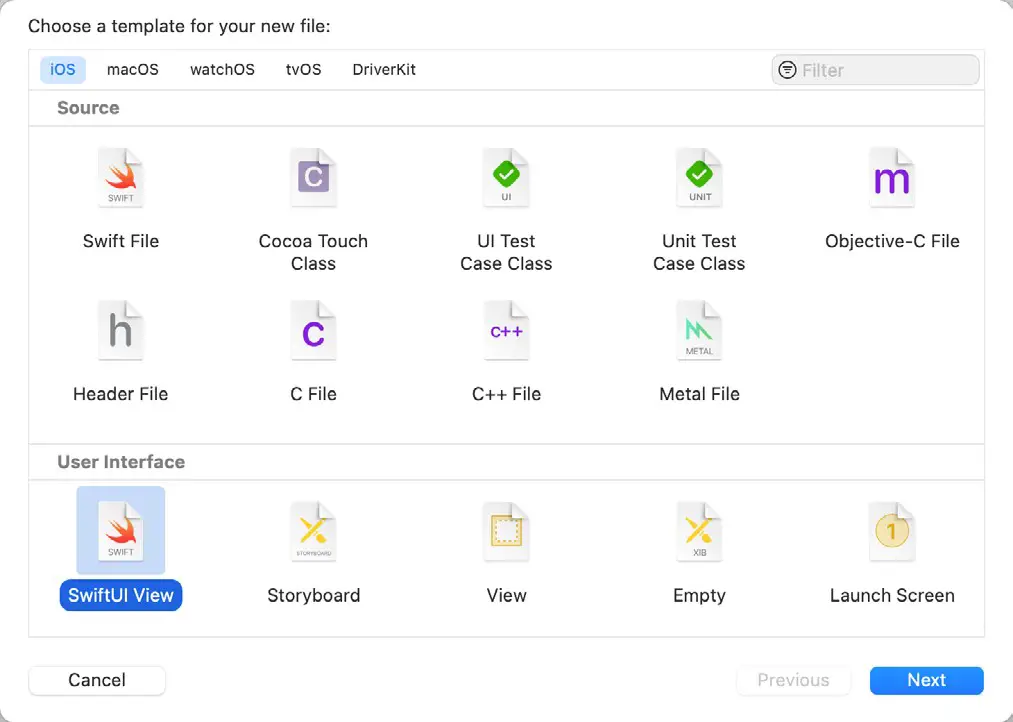
Figure 26-1
Click the Next button, name the file FirstTabView.swift, and select the Shared folder as the save location before clicking on the Create button. With the new file loaded into the editor, change the Text view to read “View One”.
Repeat the above steps to create a second SwiftUI view file named SecondTabView.swift with the Text view set to “View Two”
|
You are reading a sample chapter from an old edition of iOS App Development Essentials. Purchase the fully updated iOS 18 App Development Essentials book. The full book contains 71 chapters, over 612 pages of in-depth information, downloadable source code, and access to over 50 SwiftUI knowledge test quizzes. |
The onAppear and onDisappear Modifiers
The most basic and frequently used modifiers are onAppear() and onDisappear(). When applied to a view, these modifiers allow actions to be performed at the point that the view appears or disappears. Within the FirstTabView.swift file, add both modifiers to the Text view as follows:
import SwiftUI

struct FirstTabView: View {

    var body: some View {

        Text("View One")
            .onAppear(perform: {
                print("onAppear triggered")
            })
            .onDisappear(perform: {
                print("onDisappeared triggered")
            })
    }
}Code language: Swift (swift)
Using Live Preview in debug mode, test the app and note that the diagnostic output appears in the console panel when the app first appears (if the output does not appear, try running the app on a device or simulator). Click on the second tab to display SecondTabView at which point the onDisappear modifier will be triggered. Display the first tab once again and verify that the onAppear diagnostic is output to the console.
The onChange Modifier
In basic terms, the onChange() modifier should be used when an action needs to be performed each time a state changes within an app. This, for example, allows actions to be triggered each time the value of a state property changes. As we will explore later in the chapter, this modifier is also particularly useful when used in conjunction with the ScenePhase environment property.
To experience the onChange() modifier in action, begin by editing the SecondTabView.swift file so that it reads as follows:
import SwiftUI

struct SecondTabView: View {

    @State private var text: String = ""

    var body: some View {
        TextEditor(text: $text)
            .padding()
            .onChange(of: text, perform: { value in
                print("onChange triggered")
            })
    }
}

struct SecondTabView_Previews: PreviewProvider {
    static var previews: some View {
        SecondTabView()
    }
}Code language: Swift (swift)
Test the app again and note that the event is triggered for each keystroke within the TextEditor view.
|
You are reading a sample chapter from an old edition of iOS App Development Essentials. Purchase the fully updated iOS 18 App Development Essentials book. The full book contains 71 chapters, over 612 pages of in-depth information, downloadable source code, and access to over 50 SwiftUI knowledge test quizzes. |
ScenePhase and the onChange Modifier
ScenePhase is an @Environment property that is used by SwiftUI to store the state of the current scene. When changes to ScenePhase are monitored by the onChange() modifier, an app can take action, for example, when the scene moves between the foreground and background or when it becomes active or inactive. This technique can be used on any view or scene but is also useful when applied to the App declaration. For example, edit the LifecycleDemoApp.swift file and modify it so that it reads as follows:
import SwiftUI

@main
struct LifecycleDemoApp: App {

    @Environment(\.scenePhase) private var scenePhase

    var body: some Scene {
        WindowGroup {
            ContentView()
        }
        .onChange(of: scenePhase, perform: { phase in
                switch phase {
                    case .active:
                        print("Active")
                    case .inactive:
                        print("Inactive")
                    case .background:
                        print("Background")
                    default:
                        print("Unknown scenephase")
                }
            })
    }
}Code language: Swift (swift)
When applied to the window group in this way, the scene phase will be based on the state of all scenes within the app. In other words, the phase will be set to active if any scene is currently active and will only be set to inactive when all scenes are inactive.
When applied to an individual view, on the other hand, the phase state will reflect only that of the scene in which the view is located. The modifier could, for example, have been applied to the content view instead of the window group as follows:
.
.
var body: some Scene {
    WindowGroup {
        ContentView()
            .onChange(of: scenePhase, perform: { phase in
.
.

    }
.
.Code language: Swift (swift)
Run the app on a device or simulator and place the app into the background. The console should show that the scene phase changed to inactive state followed by the background phase. On returning the app to the foreground the active phase will be entered. The three scene phases can be summarized as follows:
- active – The scene is in the foreground, visible, and responsive to user interaction.
- inactive –The scene is in the foreground and visible to the user but not interactive.
- background – The scene is not visible to the user.
Launching Concurrent Tasks
The chapter entitled An Overview of Swift Structured Concurrency covered the topic of structured concurrency in Swift but did not explain how asynchronous tasks can be launched in the context of a SwiftUI view. In practice, all of the techniques described in that earlier chapter still apply when working with SwiftUI. All that is required is a call to the task() modifier on a view together with a closure containing the code to be executed. This code will be executed within a new concurrent task at the point that the view is created. We can, for example, modify the FirstTabView to display a different string on the Text view using an asynchronous task:
|
You are reading a sample chapter from an old edition of iOS App Development Essentials. Purchase the fully updated iOS 18 App Development Essentials book. The full book contains 71 chapters, over 612 pages of in-depth information, downloadable source code, and access to over 50 SwiftUI knowledge test quizzes. |
import SwiftUI

struct FirstTabView: View {

    @State var title = "View One"

    var body: some View {
        Text(title)
            .onAppear(perform: {
                print("onAppear triggered")
            })
            .onDisappear(perform: {
                print("onDisappeared triggered")
            })
            .task(priority: .background) {
                title = await changeTitle()
            }

    }

    func changeTitle() async -> String {
        Thread.sleep(forTimeInterval: 5)
        return "Async task complete"
    }
}

struct FirstTabView_Previews: PreviewProvider {
    static var previews: some View {
        FirstTabView()
    }
}Code language: Swift (swift)
When the view is created, a task is launched with an optional priority setting. The task calls a function named changeTitle() and then waits for the code to execute asynchronously.
The changeTitle() function puts the thread to sleep for 5 seconds to simulate a long-running task before returning a new title string. This string is then assigned to the title state variable where it will appear on Text view. Build and run the app and verify that the tabs remain responsive during the 5-second delay and that the new title appears on the first tab.
Summary
SwiftUI provides a collection of modifiers designed to allow actions to be taken in the event of lifecycle changes occurring in a running app. The onAppear() and onDisappear() modifiers can be used to perform actions when a view appears or disappears from view within a user interface layout. The onChange() modifier, on the other hand, is useful for performing tasks each time the value assigned to a property changes.
The ScenePhase environment property, when used with the onChange() modifier, allows an app to identify when the state of a scene changes. This is of particular use when an app needs to know when it moves between foreground and background modes. Asynchronous tasks can be launched when a view is created using the task() modifier.