
Now that we have created an image classification machine learning model in the previous chapter, this chapter will take that model and use it in conjunction with the iOS Core ML and Vision frameworks to build image classification features into an iOS app.
Preparing the Project
The project used as the basis for this tutorial is the Camera app created previously in the chapter entitled An iOS 17 Camera App Tutorial. If you have not completed the Camera tutorial, a completed copy of the project can be found in the source code archive download. Using a Finder window, duplicate the Camera project folder, name the copy Camera_ML and load it into Xcode.
Adding the Model
Using the Finder window once again, locate the MyImageClassifier.mlmodel file created in the previous chapter and drag it onto the Xcode Project navigator panel, accepting the defaults in the confirmation panel:

Modifying the User Interface
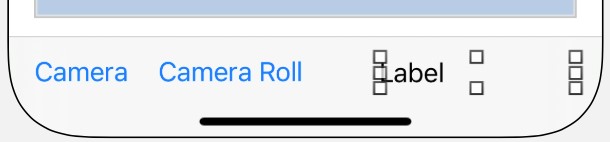
The existing user interface layout for the Camera app will need an additional Label view to be added so that the classification results can be presented to the user. Within Xcode, select the Main.storyboard file, display the Library panel, and drag and drop a Label onto the toolbar so that it is positioned as shown in Figure 85-2. Next, stretch the label so that the right-hand side reaches the right-hand margin of the parent view:
With the Label selected, use the Add New Constraints menu to add constraints to the left, right, and bottom edges of the Label with the Constrain to Margins option disabled.
 |
You are reading a sample chapter from Building iOS 17 Apps using Xcode Storyboards.
Buy the full book now in eBook or Print format. The full book contains 96 chapters and 760 pages of in-depth information. |
Finally, display the Assistant Editor panel and establish an outlet connection from the Label to a variable named identityLabel.
Initializing the Core ML Request
When the user either takes or selects a photo, the app will need to pass a request to an instance of the VNImageRequestHandler class to perform the classification. This request takes the form of a VNCoreMLRequest instance initialized with the machine learning model to be used. This model is provided in the form of a VNCoreMLModel object which, in turn, must be initialized with the machine learning model (in this case, the model contained within the MyImageClassifier.mlmodel file).
The VNCoreMLRequest object also provides the option to specify a completion handler method to be called once the request has been processed. This method will be passed a VNRequest object from which the classification results can be checked and appropriate action taken.
Within the ViewController.swift file, add a method named buildRequest() to create a VNCoreMLRequest object, configure it with the MyImageClassifier model and assign a method named checkResults() as the completion handler to be called when the classification process finishes. This buildRequest() method will be called later in the tutorial when the VNImageRequestHandler instance is created:
.
.
import UIKit
import MobileCoreServices
import UniformTypeIdentifiers
import CoreML
import Vision
.
.
func buildRequest() -> VNCoreMLRequest {

    do {
        let defaultConfig = MLModelConfiguration()
        let model = try VNCoreMLModel(for: MyImageClassifier(
                                 configuration: defaultConfig).model)
        let request = VNCoreMLRequest(model: model, completionHandler: {
             [weak self] request, error in
                self?.checkResults(for: request, error: error)
        })
        request.imageCropAndScaleOption = .centerCrop
        return request
    } catch {
        fatalError("Failed to load ML model: \(error)")
    }
}
.
.Code language: Swift (swift)
Handling the Results of the Core ML Request
When the image analysis is completed, the completion handler for the above classification request is configured to call a method named checkResults(). This method now needs to be added to the ViewController.swift file as follows:
|
You are reading a sample chapter from Building iOS 17 Apps using Xcode Storyboards.
Buy the full book now in eBook or Print format. The full book contains 96 chapters and 760 pages of in-depth information. |
func checkResults(for request: VNRequest, error: Error?) {
    DispatchQueue.main.async {
        guard let results = request.results else {
            self.identityLabel.text =
               "Unable to classify image.\n\(error!.localizedDescription)"
            return
        }

        let classifications = results as! [VNClassificationObservation]

        if classifications.isEmpty {
            self.identityLabel.text = "Nothing recognized."
        } else {
            let bestClassifications = classifications.prefix(1)

            let bestMatch = bestClassifications[0]

            if bestMatch.confidence < 0.95 {
                self.identityLabel.text = "No Match"
            } else {
                self.identityLabel.text = bestMatch.identifier
            }
        }
    }
}Code language: Swift (swift)
The code begins by dispatching the result-handling activities to a separate thread so that the code in the method is run asynchronously from the rest of the app:
func performClassification(for request: VNRequest, error: Error?) {
    DispatchQueue.main.async {Code language: Swift (swift)
The method has been passed a VNRequest object which contains the results of the classification in the form of an array of VNClassificationObservation objects. The items in the array are positioned in order of best match to worst match. The method checks that the request object contains results and extracts the observations:
let classifications = results as! [VNClassificationObservation]Code language: Swift (swift)The code notifies the user if no matches are found; otherwise, the best match is taken from the results:
if classifications.isEmpty {
    self.identityLabel.text = "Nothing recognized."
} else {
    let bestClassifications = classifications.prefix(1)

    let bestMatch = bestClassifications[0]Code language: Swift (swift)
Having identified the closest match, the match’s confidence value is tested to ensure that the match was made with a greater than 95% degree of certainty. If the confidence level is high enough, the identifier for the match (in this case, “Apple,” “Banana,” “Cat,” or “Mixed”) is displayed on the Label view. Otherwise, “No match” is displayed:
if bestMatch.confidence < 0.95 {
    self.identityLabel.text = "No Match"
} else {
    self.identityLabel.text = bestMatch.identifier
}Code language: Swift (swift)
Making the Classification Request
When the user either takes a picture or selects a photo library, the image picker delegate methods will need a way to make the Core ML classification request. Begin implementing this behavior by adding another method to the ViewController.swift file:
|
You are reading a sample chapter from Building iOS 17 Apps using Xcode Storyboards.
Buy the full book now in eBook or Print format. The full book contains 96 chapters and 760 pages of in-depth information. |
func startClassification(for image: UIImage) {

    if let orientation =
        CGImagePropertyOrientation(rawValue:
            UInt32(image.imageOrientation.rawValue)) {

        guard let ciImage = CIImage(image: image) else
        { fatalError("Unable to create \(CIImage.self) from \(image).") }

        DispatchQueue.global(qos: .userInitiated).async {
            let handler = VNImageRequestHandler(ciImage: ciImage,
            orientation: orientation)
            do {
                let request = self.buildRequest()
                try handler.perform([request])
            } catch {
                print("Classification failed: \(error.localizedDescription)")
            }
        }
    }
}Code language: Swift (swift)
The method is passed a UIImage object from which the current orientation is obtained before being converted to a CIImage instance. Then, on a separate thread, a VNImageRequestHandler instance is created and initialized with the image object and orientation value. Next, the buildRequest() method created at the beginning of this chapter is called to obtain a VNCoreMLRequest object initialized with the trained model.
Finally, the request object is placed in an array (the VNImageRequestHandler class can handle multiple requests simultaneously) and passed to the perform() method of the handler. This will initiate a chain of events starting with the image classification analysis and ending with the resulting call to the checkResults() method, which, in turn, updates the Label view.
The last step before testing the app is to make sure the startClassification() method gets called from the didFinishPickingMediaWithInfo image picker delegate method:
func imagePickerController(_ picker: UIImagePickerController,
didFinishPickingMediaWithInfo info: [UIImagePickerController.InfoKey : Any]) {

    let mediaType =
           info[UIImagePickerController.InfoKey.mediaType] as! NSString

    self.dismiss(animated: true, completion: nil)

    if mediaType.isEqual(to: kUTTypeImage as String) {
        let image = info[UIImagePickerController.InfoKey.originalImage]
            as! UIImage

        imageView.image = image

        startClassification(for: image)
.
.
}Code language: Swift (swift)
Testing the App
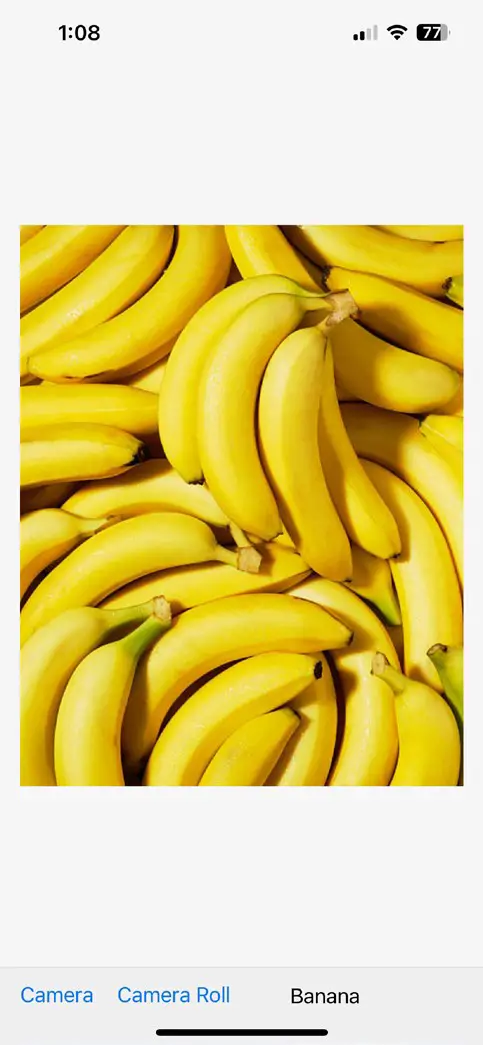
Open the Photos app on your Mac, add some apple and banana images (including both dataset images and images downloaded from the internet) to your photo library, and wait for them to sync with your iOS device via iCloud. Next, compile and run the app on the physical device (at the time of writing, Core ML was not working on simulators) and tap the Camera Roll button. When the image picker appears, select one of the synced images to return to the Camera app and verify that the label updates with the correct identification:
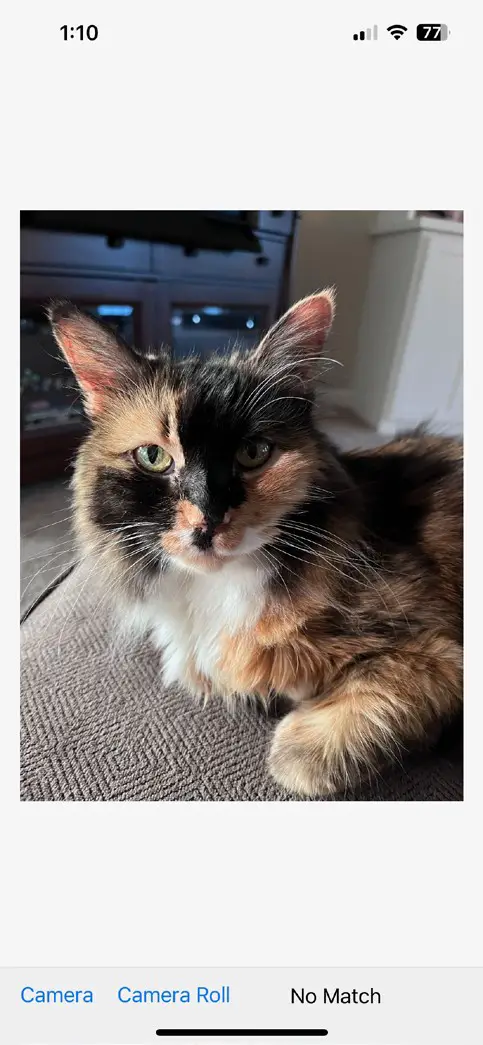
Finally, select a photo that is clearly neither a banana nor an apple, and verify that the status label indicates no match was found:
|
You are reading a sample chapter from Building iOS 17 Apps using Xcode Storyboards.
Buy the full book now in eBook or Print format. The full book contains 96 chapters and 760 pages of in-depth information. |
Summary
This chapter has demonstrated how a machine learning model can be used within an app to perform image classification tasks using classes from the Core ML and Vision frameworks together with minimal coding. The tutorial included creating and initiating a machine learning request object and handling results from a completed classification request.