
This chapter aims to work through creating an iOS app that uses the UIDocumentBrowserViewController class to integrate document browsing support. The app will demonstrate using the Document Based App template to create an app that can navigate all available file providers and create, open, and edit text-based documents.
Creating the DocumentBrowser Project
Launch Xcode and create a new iOS project named DocumentBrowser based on the iOS Document App template with Swift selected as the programming language.
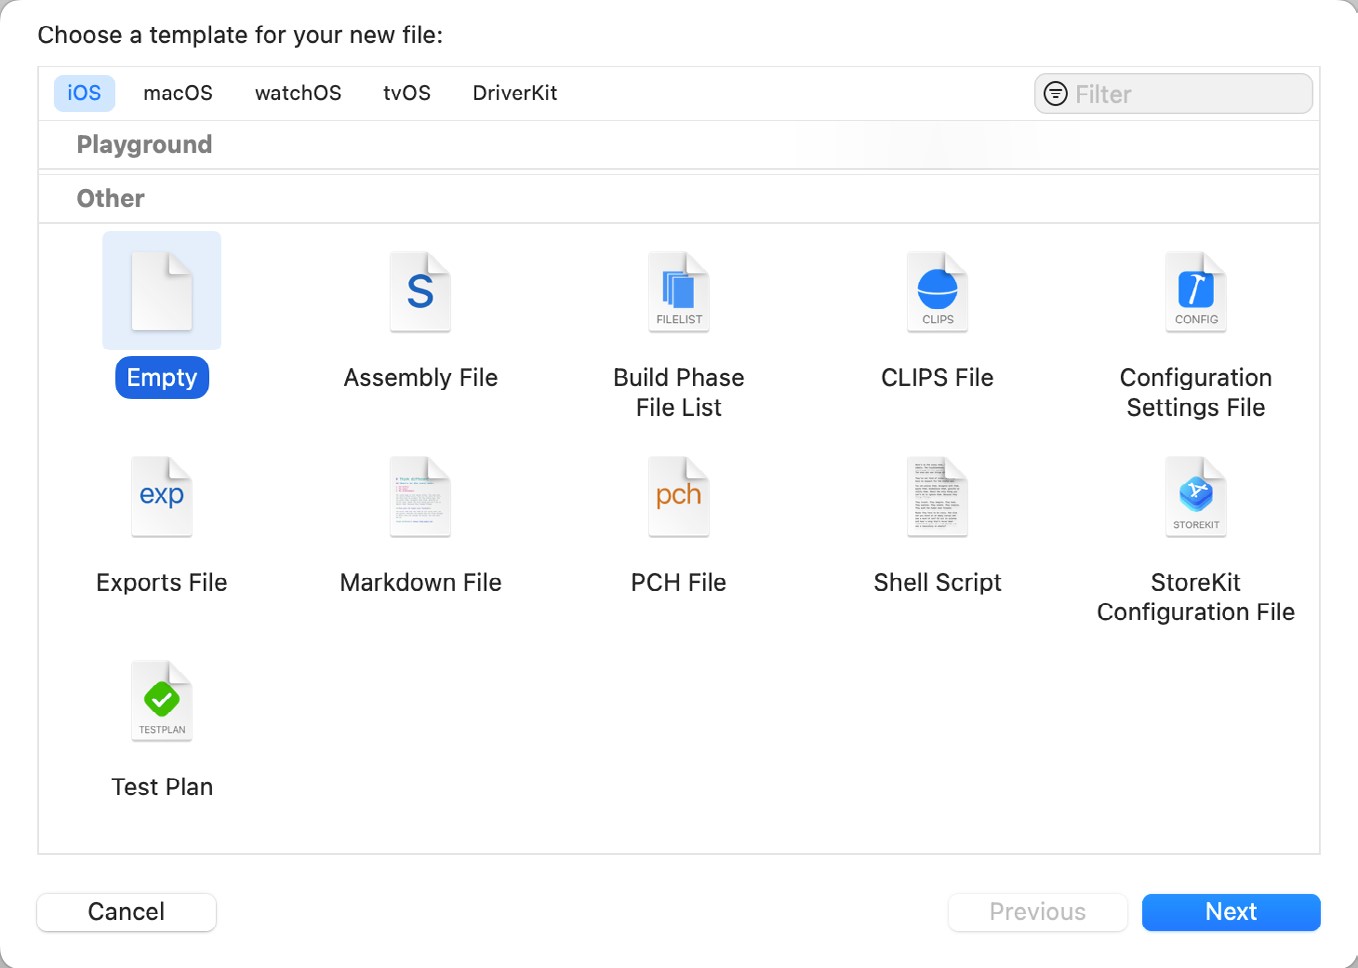
Once the project has loaded, select the File -> New -> File… menu option, and scroll down the list of file types until the Empty option appears listed under Other, as shown in Figure 44-1:
Click Next and name the file template.txt before clicking on the Create button. This file will serve as the template when the user creates new documents. Select the file in the project navigator and add a line of text which reads as follows:
This is a template text file, add your own text.Code language: plaintext (plaintext)Declaring the Supported File Types
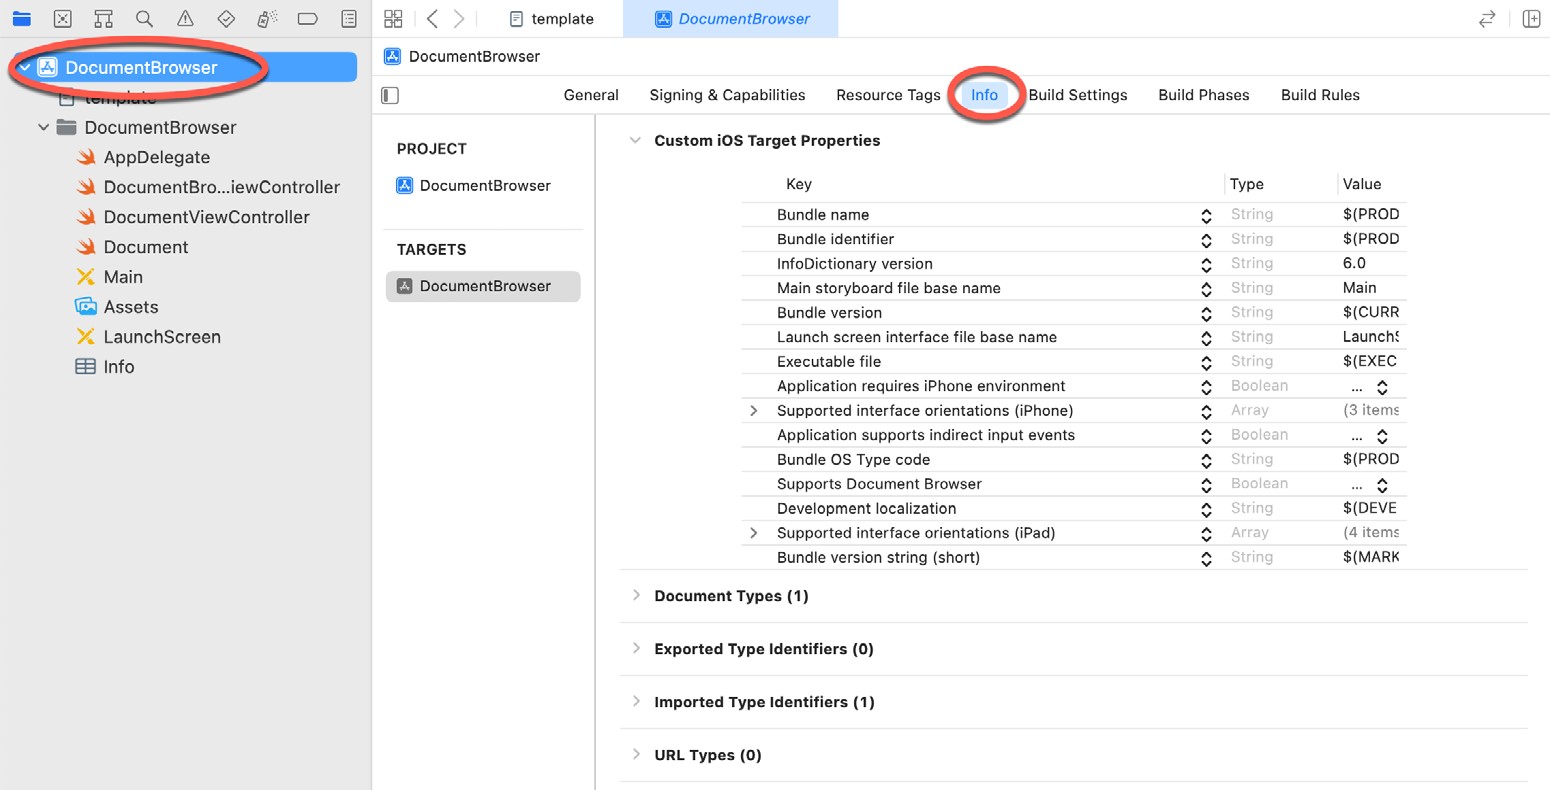
The app will be configured to support text files (both plain text and text files containing markup such as HTML). Within Xcode, select the DocumentBrowser target at the top of the project navigator panel and, within the settings screen, select the Info tab highlighted in Figure 44-2:
 |
You are reading a sample chapter from Building iOS 17 Apps using Xcode Storyboards.
Buy the full book now in eBook or Print format. The full book contains 96 chapters and 760 pages of in-depth information. |
Check that the Supports Document Browser key value is set to YES, then click on the disclosure arrow next to the Document Types heading to unfold the list of types currently supported, followed by the arrow next to the Additional document type properties section:
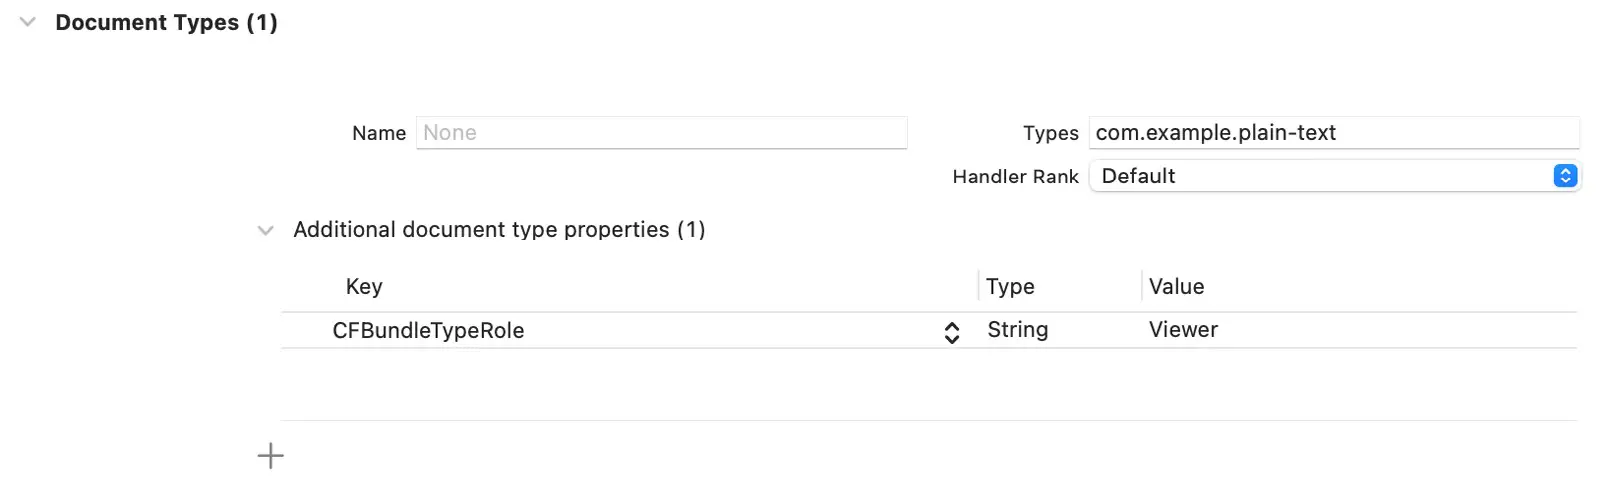
Note that Xcode has created a single document content type identifier set to com.example.plain-text with the handler rank set to Default:
Since this app is intended to edit text files, modify this entry as follows:
- Name – Plain Text
- Types – com.example.plain-text
- CFBundleTypeRole – Editor
- Handler Rank – Alternate
Next, add another document type by clicking on the + button beneath the Additional document type properties section. Fill in the information for this entry as follows:
- Name – Text
- Types – public.plain-text
- CFBundleTypeRole – Editor
- LSHandlerRank – Alternate
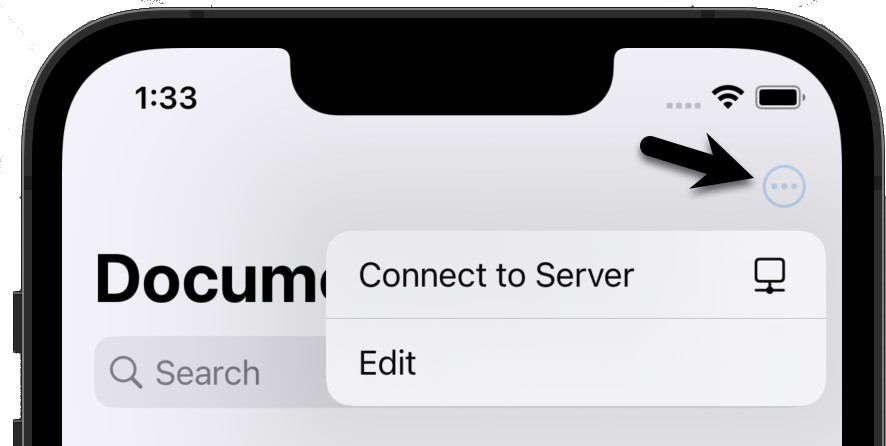
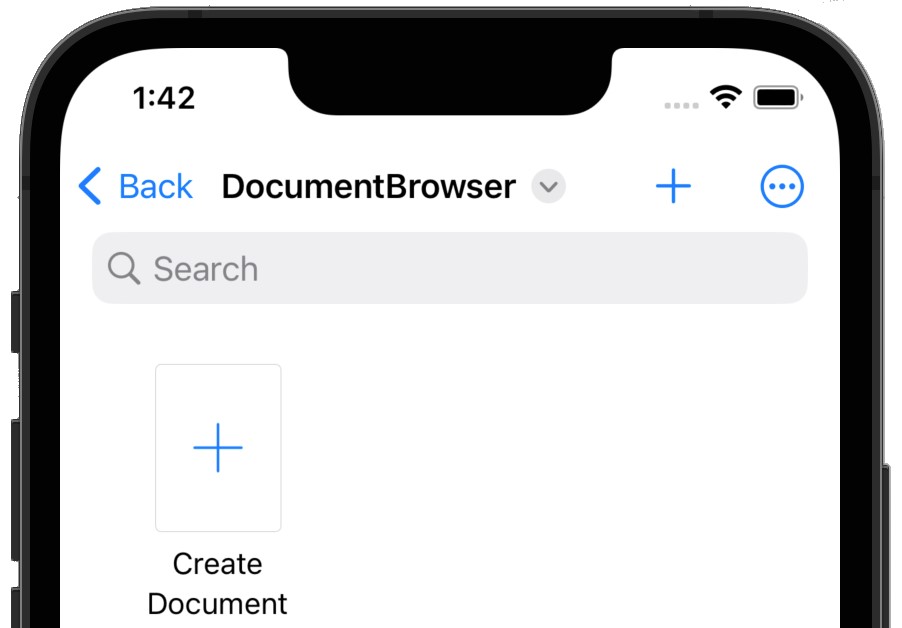
Build and run the app and make sure that the document browser appears and that it is possible to navigate around the local device or iCloud Drive for your account. Local files can be found by selecting the On My iPad/ iPhone location option. If this option is not listed, it usually means that no local files have been saved or that this option has not yet been enabled on the device. To check this, tap the menu button as indicated by the arrow in Figure 44-4 and select the Edit option:
|
You are reading a sample chapter from Building iOS 17 Apps using Xcode Storyboards.
Buy the full book now in eBook or Print format. The full book contains 96 chapters and 760 pages of in-depth information. |
After entering edit mode, enable the switches next to the locations to which you would like access from within the browser:

Completing the didRequestDocumentCreationWithHandler Method
Edit the DocumentBrowserViewController.swift file, add code to create a temporary template file, and pass the URL for that file to the importHandler method. Note that since the template file is bundled with the app, the file is copied to the file provider rather than moved. This ensures the template is still available for future creation requests:
func documentBrowser(_ controller: UIDocumentBrowserViewController,
didRequestDocumentCreationWithHandler importHandler: @escaping (URL?,
UIDocumentBrowserViewController.ImportMode) -> Void) {
let newDocumentURL: URL? = Bundle.main.url(forResource:
"template", withExtension: "txt")
if newDocumentURL != nil {
importHandler(newDocumentURL, .copy)
} else {
importHandler(nil, .none)
}
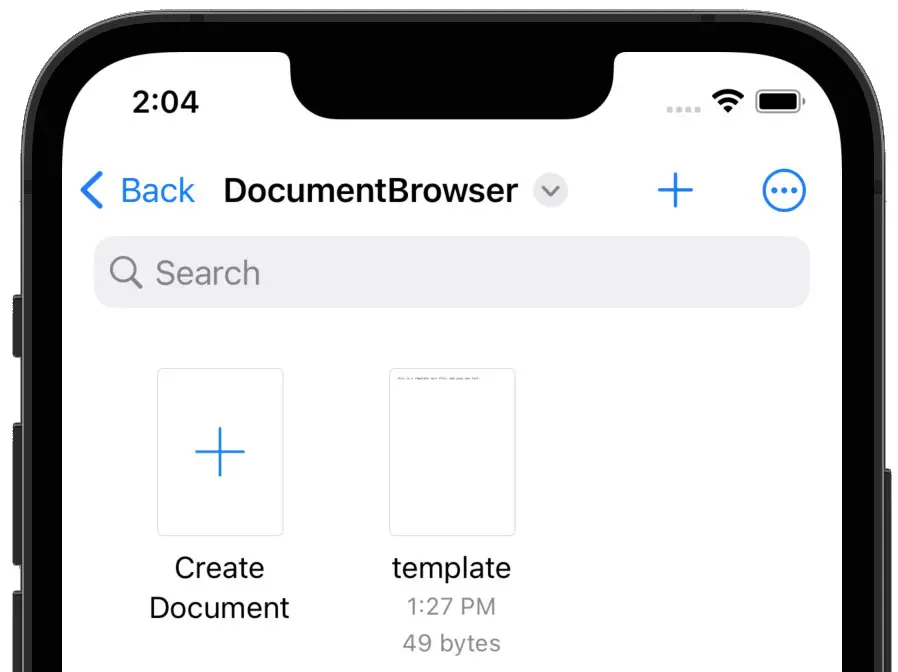
}Code language: Swift (swift)Run the app, select the Browse item in the navigation bar at the bottom of the screen and verify that the browser has defaulted to the DocumentBrowser folder on iCloud Drive, as shown in Figure 44-6. If the browser displays a different location, navigate to the iCloud Drive DocumentBrowser folder before continuing.
Click on the Create Document option, at which point the new document should be created, and the document view controller displayed containing the file’s name and a Done button. Tap the Done button to return to the browser where the new file will be listed:
Before moving to the next step, scroll to the top of the DocumentBrowserViewController.swift class file and verify that the allowsDocumentCreation and allowsPickingMultipleItems properties are set to true and false, respectively, within the viewDidLoad() method:
|
You are reading a sample chapter from Building iOS 17 Apps using Xcode Storyboards.
Buy the full book now in eBook or Print format. The full book contains 96 chapters and 760 pages of in-depth information. |
allowsDocumentCreation = true
allowsPickingMultipleItems = falseCode language: Swift (swift)
Finishing the UIDocument Subclass
Xcode has provided a template UIDocument subclass in the Document.swift file. This class now needs to be completed so that it will read and write file content. This code is identical to that used in the chapter entitled Managing Files using the iOS 17 UIDocument Class. Edit the Document.swift file and modify it to reads as follows:
import UIKit

class Document: UIDocument {

    var userText: String? = ""

    override func contents(forType typeName: String) throws -> Any {

        if let content = userText {

            let length =
                content.lengthOfBytes(using: String.Encoding.utf8)
            return NSData(bytes:content, length: length)
        } else {
            return Data()
        }
    }

    override func load(fromContents contents: Any, ofType
		typeName: String?) throws {

        if let userContent = contents as? Data {
            userText = NSString(bytes: (contents as AnyObject).bytes,
                        length: userContent.count,
                        encoding: String.Encoding.utf8.rawValue) as String?
        }
    }
}Code language: Swift (swift)
Modifying the Document View Controller
The final task is to modify the document view controller so that it displays the text file’s content and allows it to be edited and saved. Begin by loading the Main.storyboard file into Interface Builder and locating the Document View Controller Scene. Drag and drop a TextView and a Button view onto the scene. Change the text on the Button to “Save” and, using the Attributes inspector panel, change the Font setting to Title 2 to match the existing Done button. Position the new views so that the layout matches Figure 44-8 and set appropriate layout constraints:
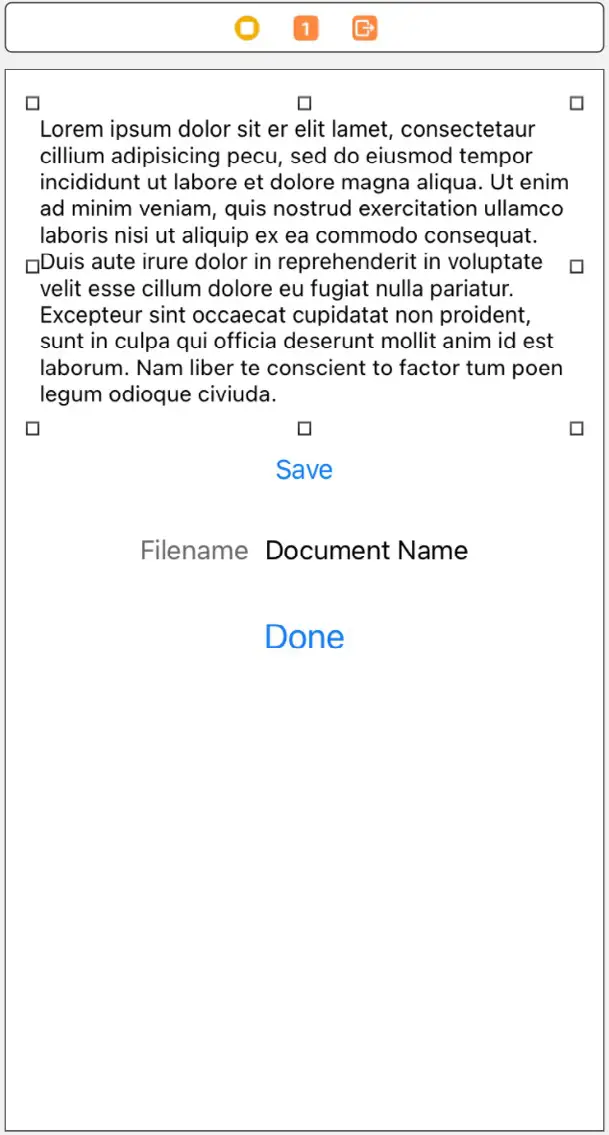
Double-click on the Latin text in the TextView and press the keyboard Delete key to remove it. Display the Assistant Editor, confirm that it is displaying the DocumentViewController.swift file, and establish an outlet from the TextView to a variable named documentText and an action connection from the Save button to a method named saveFile.
Edit the DocumentViewController.swift file and modify the document variable and the template viewWillLoad method as follows:
.
.
// var document: UIDocument?
var document: Document?

override func viewWillAppear(_ animated: Bool) {
    super.viewWillAppear(animated)

    document?.open(completionHandler: { (success) in
        if success {
            self.documentNameLabel.text =
	             self.document?.fileURL.lastPathComponent
            self.documentText.text = self.document?.userText
        } else {
        }
    })
}
.
.Code language: Swift (swift)
Finally, add code to the saveFile method to write the content of the TextView to the document:
|
You are reading a sample chapter from Building iOS 17 Apps using Xcode Storyboards.
Buy the full book now in eBook or Print format. The full book contains 96 chapters and 760 pages of in-depth information. |
@IBAction func saveFile(_ sender: Any) {

    document?.userText = documentText.text

    if let url = document?.fileURL {
        document?.save(to: url,
                       for: .forOverwriting,
                       completionHandler: {(success: Bool) -> Void in
                        if success {
                            print("File overwrite OK")
                        } else {
                            print("File overwrite failed")
                        }
        })
    }
}Code language: Swift (swift)
Testing the Document Browser App
Run the app and select the template.txt file added earlier in the chapter. When the document view controller appears, enter new text into the TextView before clicking on Save, followed by Done to return to the document browser. The icon for the file should now reflect the extra text added to the file, and when selected, the document view controller should also load the new file content.
Place the app in the background and perform a long press on the app icon. When the pop-up appears, it should contain the recently created text file.
Summary
This chapter has provided a tutorial covering the steps involved in implementing a document browser using the Xcode Document Based App template. Topics covered included the declaration of supported document types, creation of a template document file, implementation of the didRequestDocumentCreationWithHandler method, use of the UIDocument class, and customization of the document view controller.