The previous chapter explored the different options available when installing Ubuntu with a particular emphasis on using the graphical installer. This chapter will go into more detail regarding the use of the Network installer image to install Ubuntu.
1.1 Network Installer Advantages
The Network installer (also referred to as Netboot) image provides a small image (approximately 50MB in size compared to more than 2GB for the Desktop image) that can be used to install either the server or desktop-based Ubuntu environments. This option requires an internet connection to download additional packages during installation and uses the text-based installer.
While the Server and Desktop images provide very little choice in terms of configuration options during installation, the Network installer provides an extensive list of pre-defined software collections from which to choose during installation. The Ubuntu Desktop ISO image, for example, will only install the GNOME desktop environment. The Network installer, on the other hand, lets you install various desktop environments including KDE Plasma (Kubuntu) and LXQt (Lubuntu). Options are also available to install a basic server environment with optional additional server related packages such as web server, mail server and database software.
All of these packages can, of course, be added or removed after installation is complete when using the Server and Desktop images, but if you want to use a small installation image that can be quickly written to a USB drive and allows you to pre-install many software dependencies, the Network installer is an ideal option.
1.2 Obtaining the Network Installer Image
The Network installer image for Ubuntu 20.04 can be downloaded from the following web page:
 |
You are reading a sample chapter from Ubuntu 22.04 Essentials. Buy the full book now in eBook ($24.99) format. Includes 36 chapters. Learn more. |
http://archive.ubuntu.com/ubuntu/dists/focal/main/installer-amd64/current/legacy-images/ netboot/mini.iso
Once downloaded, follow the steps in the chapter entitled ”Installing Ubuntu on a Clean Disk Drive” to write the mini.iso image to a USB drive.
1.3 Booting from the Installer Image
Insert the Ubuntu installation media and power on the system. If the system tries to boot from the hard disk drive you will need to enter the BIOS set up for your computer and change the boot order so that it boots from the installation media drive first. Once the system has booted, the screen shown in Figure 4-1 will appear:
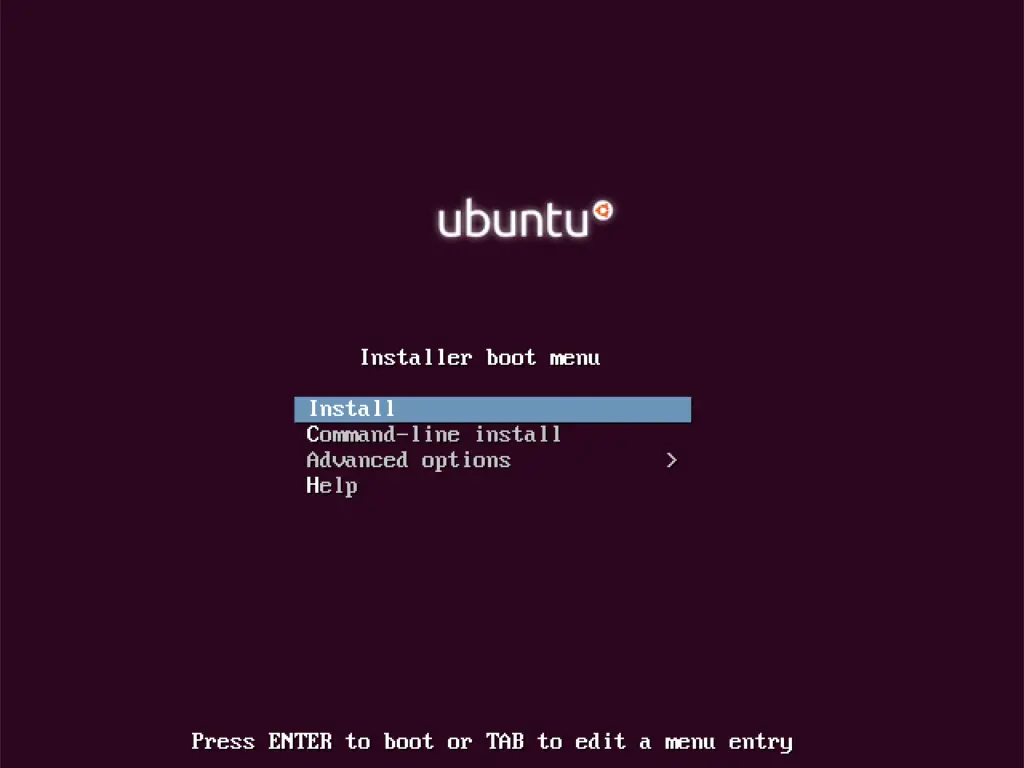
Figure 4-1
1.4 Performing the Installation
From the menu, select the Install option and tap the keyboard Enter key to start the installation process. On the next few screens, use the keyboard arrow keys and the Enter key to select your preferred language and keyboard type.
|
You are reading a sample chapter from Ubuntu 22.04 Essentials. Buy the full book now in eBook ($24.99) format. Includes 36 chapters. Learn more. |
After making the configuration selections, the installer will scan the device hardware in search of a network interface:

Figure 4-2
Once a network connection has been detected, the system will need to be assigned a host name by which it will appear on the network. When prompted, enter a host name then use the Tab key to navigate to the Continue button before tapping the Enter key to move to the next screen.
During the installation, the installer will download only the packages that are needed to match the software selections you make during the installation process. These Ubuntu software packages are hosted on mirror servers throughout the world. To ensure optimal download performance select the country in which the system is located:
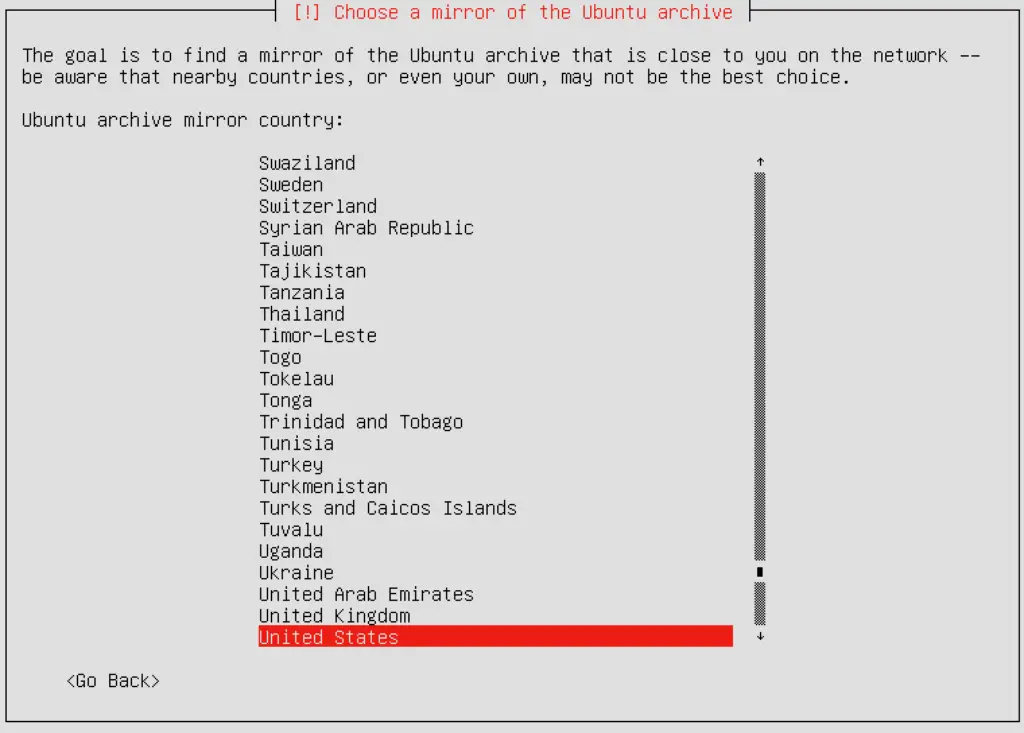
Figure 4-3
|
You are reading a sample chapter from Ubuntu 22.04 Essentials. Buy the full book now in eBook ($24.99) format. Includes 36 chapters. Learn more. |
On the next screen select a mirror server before continuing:
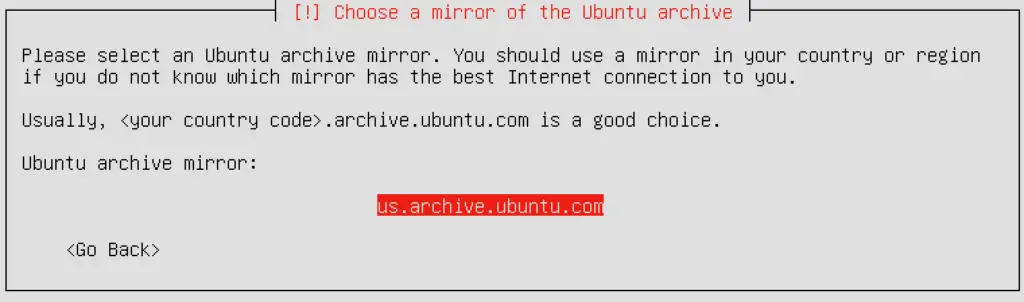
Figure 4-4
If the computer on which the installation is being performed is located behind a proxy based firewall, enter the information for the proxy on the screen shown in Figure 4-5. A proxy service firewall is placed between the internet and an internal network of computers and acts as a gobetween for the two environments. With a proxy service in place, internal client computers do not connect directly to outside resources. Instead they connect to the proxy server which in turn connects with the external resource on behalf of the client, thereby masking the internal IP address of the client. Any responses from the external resources are handled by the proxy service which passes them along to the client that originally requested the data:
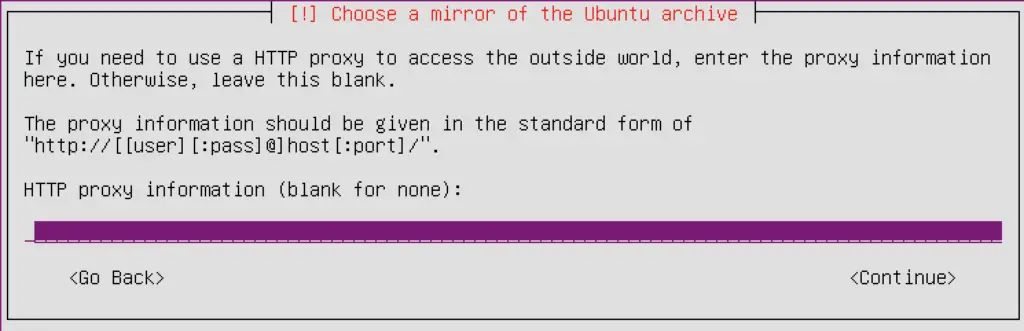
Figure 4-5
If proxy information is not required, simply leave this field blank and proceed to the next screen.
|
You are reading a sample chapter from Ubuntu 22.04 Essentials. Buy the full book now in eBook ($24.99) format. Includes 36 chapters. Learn more. |
At this point, the installer will download some basic packages needed to start the installation. Once complete, a series of screens will appear asking for the full name, username and password for the first user to be added to the system. Once this information has been provided, the installer will identify the geographical location of the system based on the external IP address of the internet connection. If the installer has detected the location correctly, accept the location, otherwise make the selection manually.
1.5 Disk Partitioning
The next phase of the installation setup involves deciding how the disk drive is to be partitioned and managed:
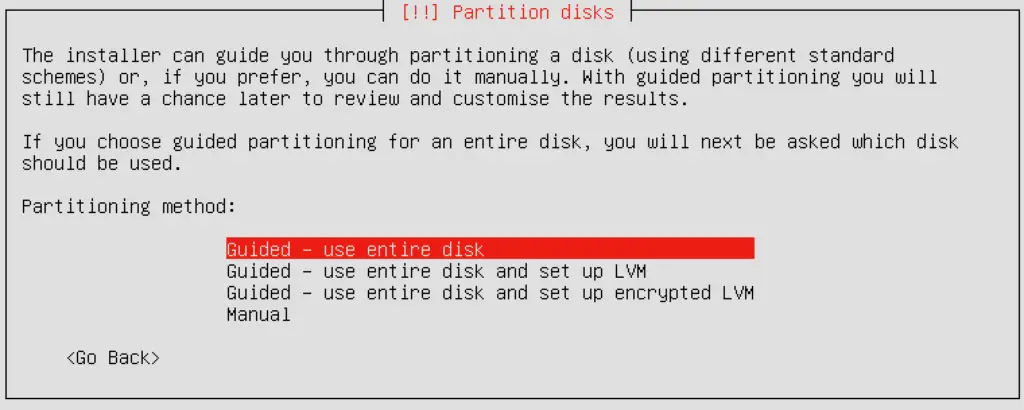
Figure 4-6
Assuming that this is a new disk on which an existing operating system is not present, the installer will provide the option to erase the entire disk and use it for Ubuntu (in which case the installer will calculate and implement a typical and recommended partition layout). If the security of the data stored on the disk is of paramount concern, select the option to encrypt the Ubuntu installation. If this option is selected a later screen will prompt you to choose a security key which will then need to be entered each time the system starts.
The option to use Logical Volume Management (LVM) is also strongly recommended to make the management of the disks and partitions on the system easier, a topic covered in detail in the chapter entitled “Adding a New Disk to an Ubuntu Volume Group and Logical Volume”.
|
You are reading a sample chapter from Ubuntu 22.04 Essentials. Buy the full book now in eBook ($24.99) format. Includes 36 chapters. Learn more. |
Alternatively, to define your own custom disk layout or to implement more advanced configurations such as RAID, select the Manual option:
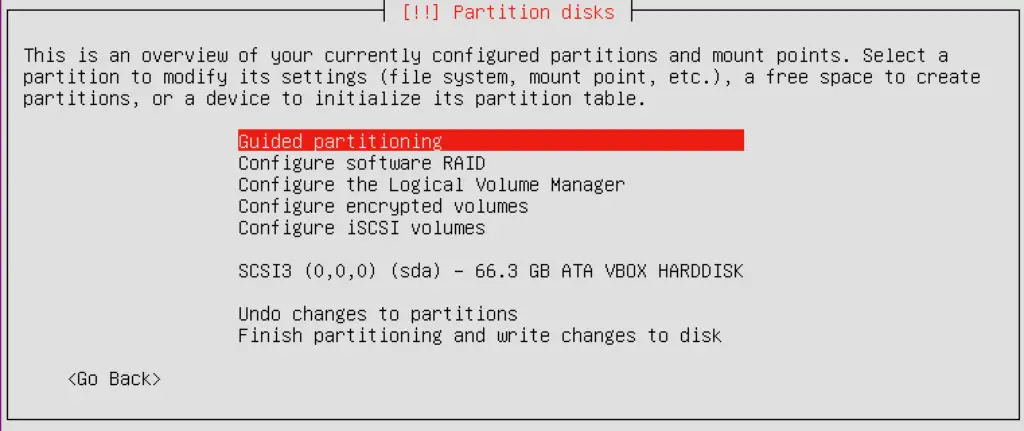
Figure 4-7
Unless you have a specific requirement, select the option to perform a guided LVM installation and follow the steps to confirm the target disk drive and to select the amount of available space to be allocated to the partition. Finally, review the partition configuration summary and select the Finish partitioning and write changes to disk menu option as shown in Figure 4-8:
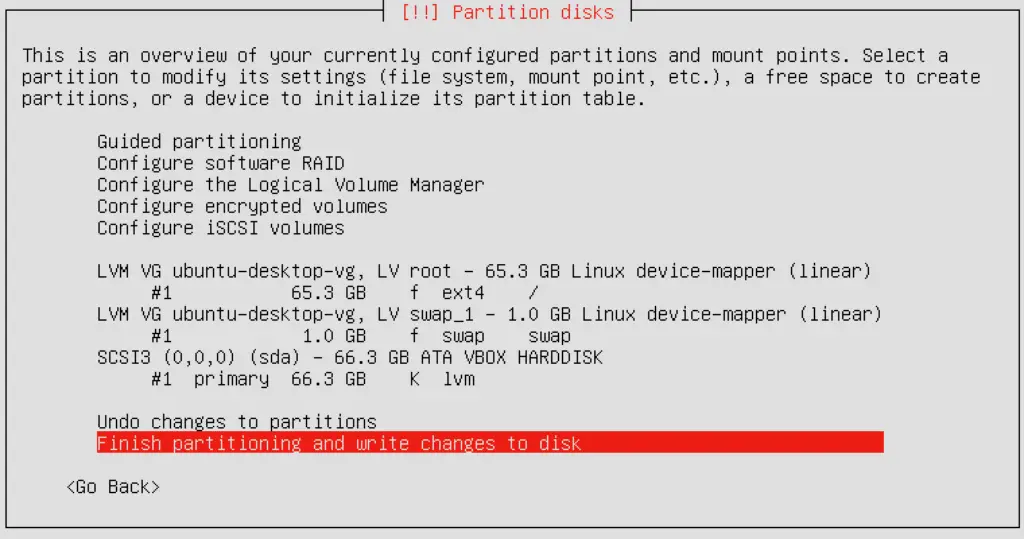
Figure 4-8
Provide a final confirmation and then wait while the partition is created and the base system installed.
|
You are reading a sample chapter from Ubuntu 22.04 Essentials. Buy the full book now in eBook ($24.99) format. Includes 36 chapters. Learn more. |

Figure 4-9
On the next screen, select your preferred option for installing updates on the running system. It is generally recommended to have updates installed automatically, though the manual option is also available if you prefer to control when updates are installed. If, on the other hand, you are managing multiple Ubuntu systems using the Landscape web management environment, select the Landscape option from the menu:
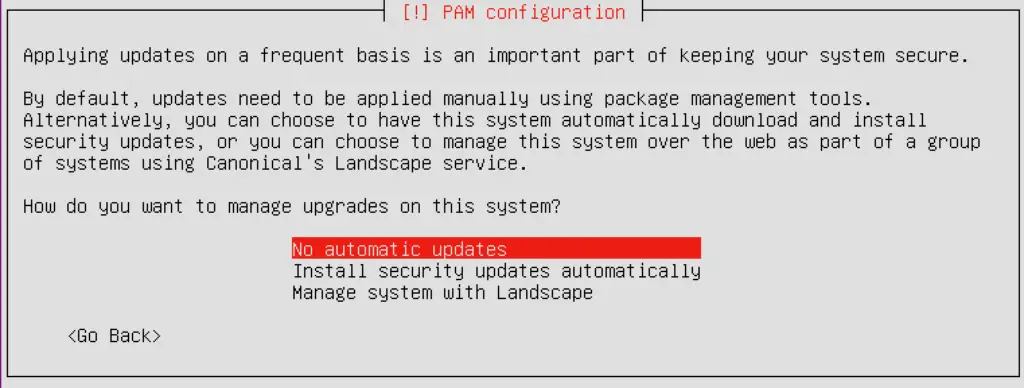
Figure 4-10
1.6 Software Collection Selection
The final step in the network installation is to choose the software collections to be installed. This is performed in the screen shown in Figure 4-11:
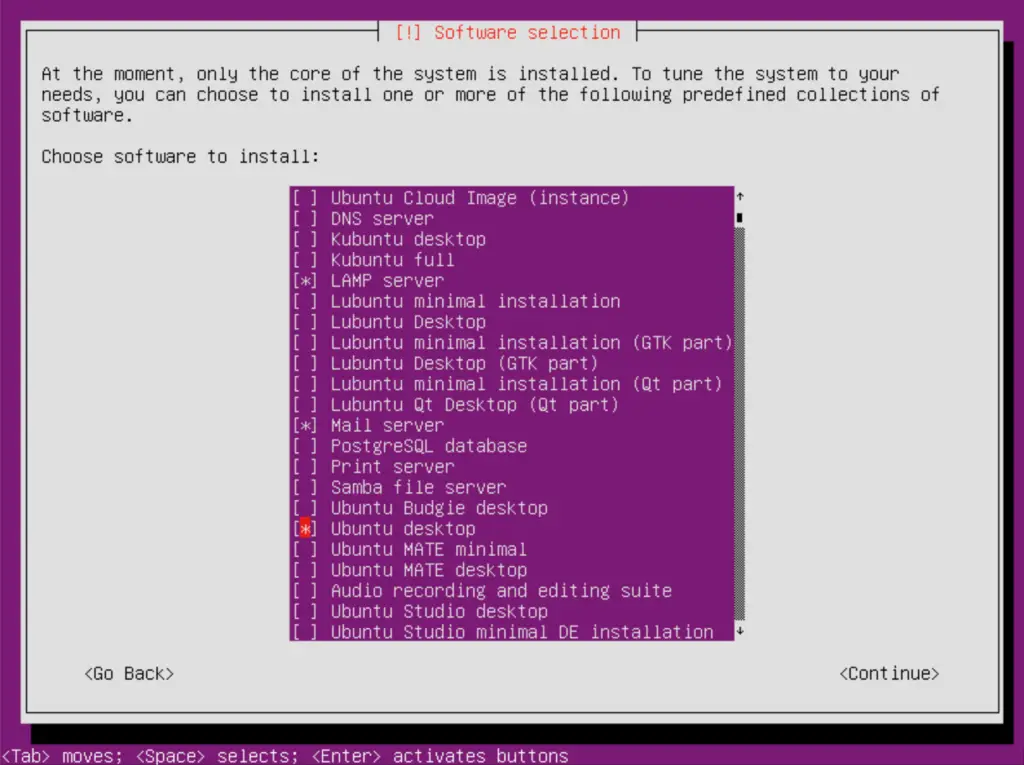
Figure 4-11
|
You are reading a sample chapter from Ubuntu 22.04 Essentials. Buy the full book now in eBook ($24.99) format. Includes 36 chapters. Learn more. |
Based on your requirements, select the collections you believe you will need (keeping in mind that packages can be added and removed later from within the running system).
Once you have placed asterisks next to all of the items you need, select the Continue option and wait while the selected packages are downloaded and installed. Once the software has been installed, a screen will appear seeking confirmation that the master boot record on the disk can be modified to add the Ubuntu boot options. Finally, the installer will seek confirmation that the system is to use Coordinated Universal Time (UTC). Accept the use of UTC unless the system is dual booting with Windows, in which case this option should not be selected.
Once the installation is complete, remove the installation media, press the Enter key and wait while the system reboots.
1.7 Installing Software Collections After System Setup
Once the system is up and running, any of the software collections listed in the dialog in Figure 4-11 above can be installed manually from within a running Ubuntu system using the tasksel tool. This tool can be installed in a terminal window using the following command:
# apt install tasksel
Once installed, run the command as follows:
|
You are reading a sample chapter from Ubuntu 22.04 Essentials. Buy the full book now in eBook ($24.99) format. Includes 36 chapters. Learn more. |
# tasksel
Once tasksel starts, the screen shown in Figure 4-12 will appear from which collections may be selected and installed:
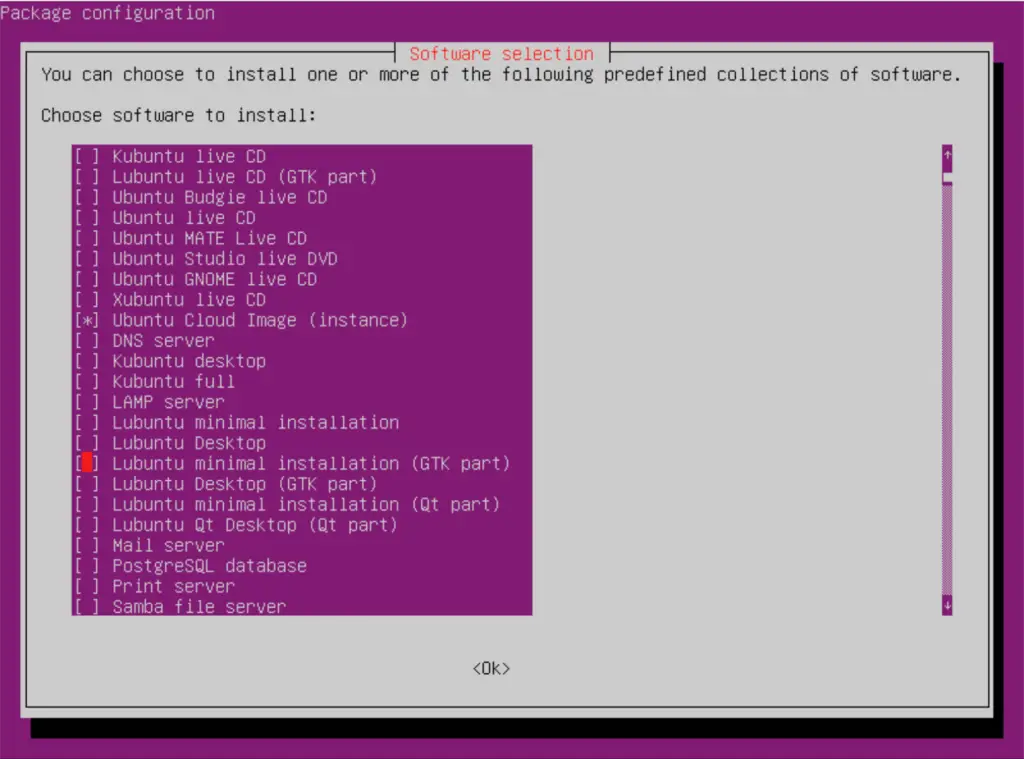
Figure 4-12
1.8 Summary
The Ubuntu Network installation provides a way to install Ubuntu using a relatively small ISO image. This requires that the target system has an active network connection that will be used to install the software packages during the installation process, and limits the installation to being performed in text mode (though the graphical desktop can still be installed). Unlike the desktop and server installation images, the Network installer also allows different software collections to be selected for installation, providing greater control over the installation process and resulting in a more finely configured operating system.