
This chapter will demonstrate the use of Create ML to build an image classification model trained to classify images based on whether the image contains one of four specific items (an apple, banana, cat, or a mixture of fruits).
The tutorial will include the training and testing of an image recognition machine learning model using an Xcode playground. In the next chapter, this model will be integrated into an app to perform image classifications when a user takes a photo or selects an image from the photo library.
About the Dataset
As explained in the previous chapter, an image classification model is trained by providing it with a range of images that have already been categorized. Once the training process has been performed, the model is then tested using a set of images that were not previously used in the training process. Once the testing achieves a high enough level of validation, the model is ready to be integrated into an app project.
For this example, a dataset containing images of apples and bananas will be used for training. The dataset is contained within a folder named CreateML_dataset, which is included with the source code download available at the following URL:
https://www.ebookfrenzy.com/web/ios16/
 |
You are reading a sample chapter from Building iOS 17 Apps using Xcode Storyboards.
Buy the full book now in eBook or Print format. The full book contains 96 chapters and 760 pages of in-depth information. |
The dataset includes a Training folder containing images divided into two subfolders organized as shown in Figure 84-1:
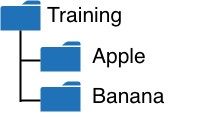
The dataset also includes a Testing folder containing images for each classification, none of which were used during the training session. Once the dataset has been downloaded, take some time to browse the folders and images to understand the data’s structure.
Creating the Machine Learning Model
With the dataset prepared, the next step is to create the model using the Create ML tool. Begin by launching Xcode, then select the Xcode -> Open Developer Tool -> Create ML menu option. When Create ML has loaded, it will display a Finder window where you can choose an existing model or create a new one. Within this window, click on the New Document button to display the template selection screen shown in Figure 84-2:
Using Create ML to Build an Image Classification Model
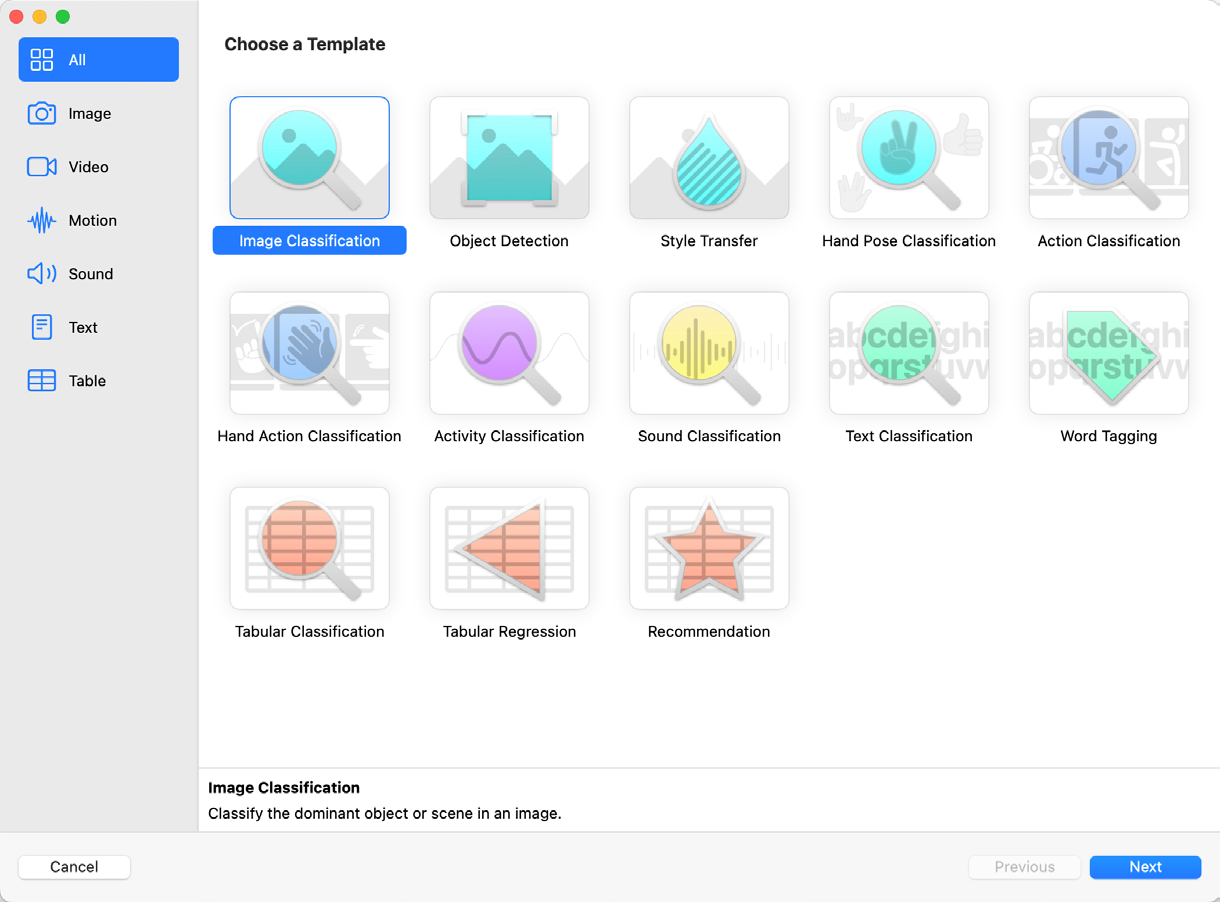
For this example, we will work with images, so select the Image Classification template followed by the Next button. Then, continue through the remaining screens, naming the project MyImageClassifier and selecting a suitable folder into which to create the model.
|
You are reading a sample chapter from Building iOS 17 Apps using Xcode Storyboards.
Buy the full book now in eBook or Print format. The full book contains 96 chapters and 760 pages of in-depth information. |
Once the model has been created, the screen shown in Figure 84-3 will appear ready for the training and tested data to be imported:
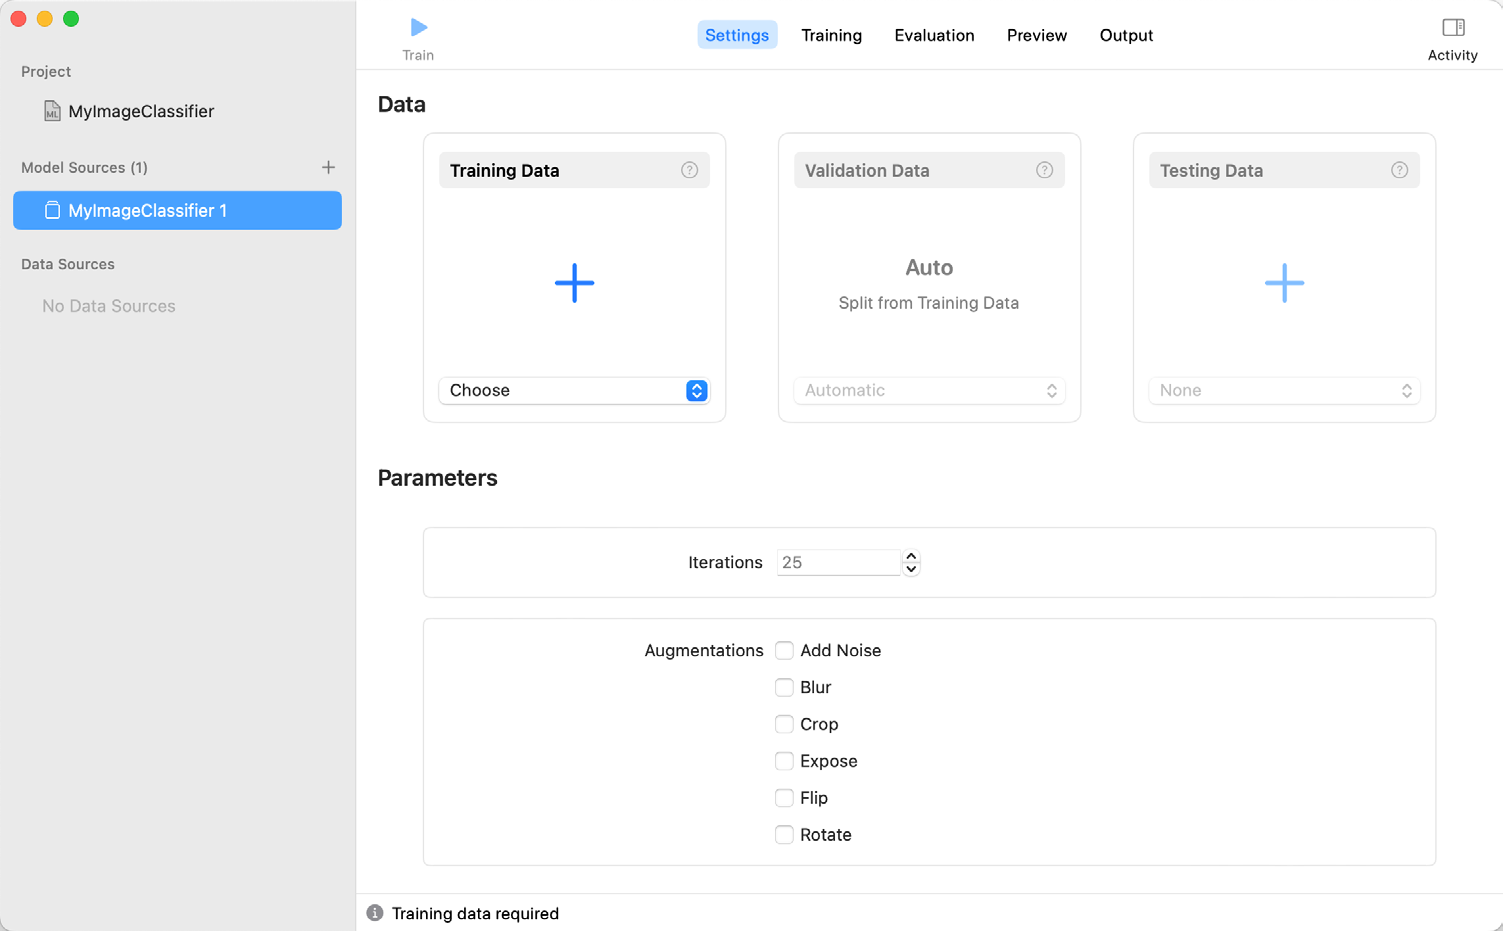
In the left-hand panel, click on the “MyImageClassifier 1” entry listed under Model Sources and change the name to MyImageClassifier.
Importing the Training and Testing Data
Click on the box labeled Training Data to display the finder dialog and navigate to and open the Training data set folder. Next, repeat these steps to import the test folder into the Testing Data box. Once the data has been imported, the Data section of the Create ML screen should resemble Figure 84-4:
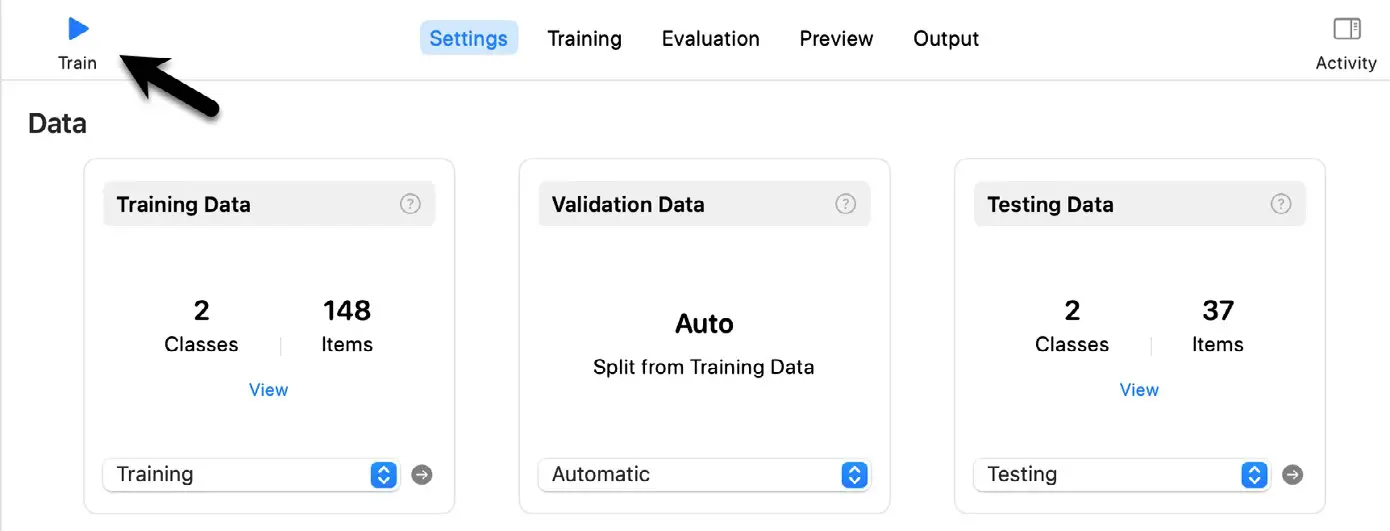
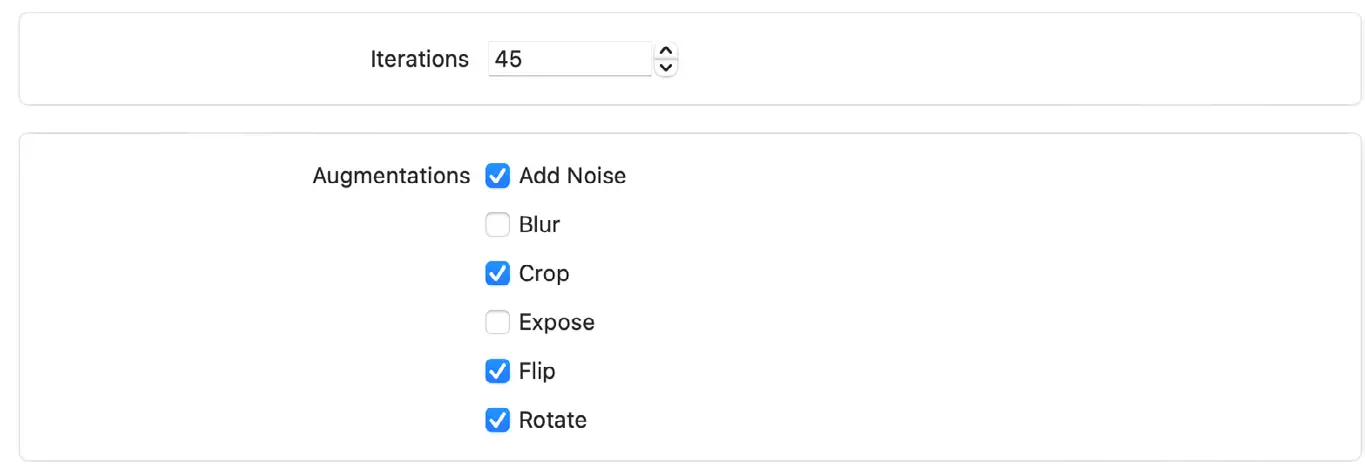
Next, increase the number of training iterations to 45 and set some augmentations to train the model to deal with image variations:
Training and Testing the Model
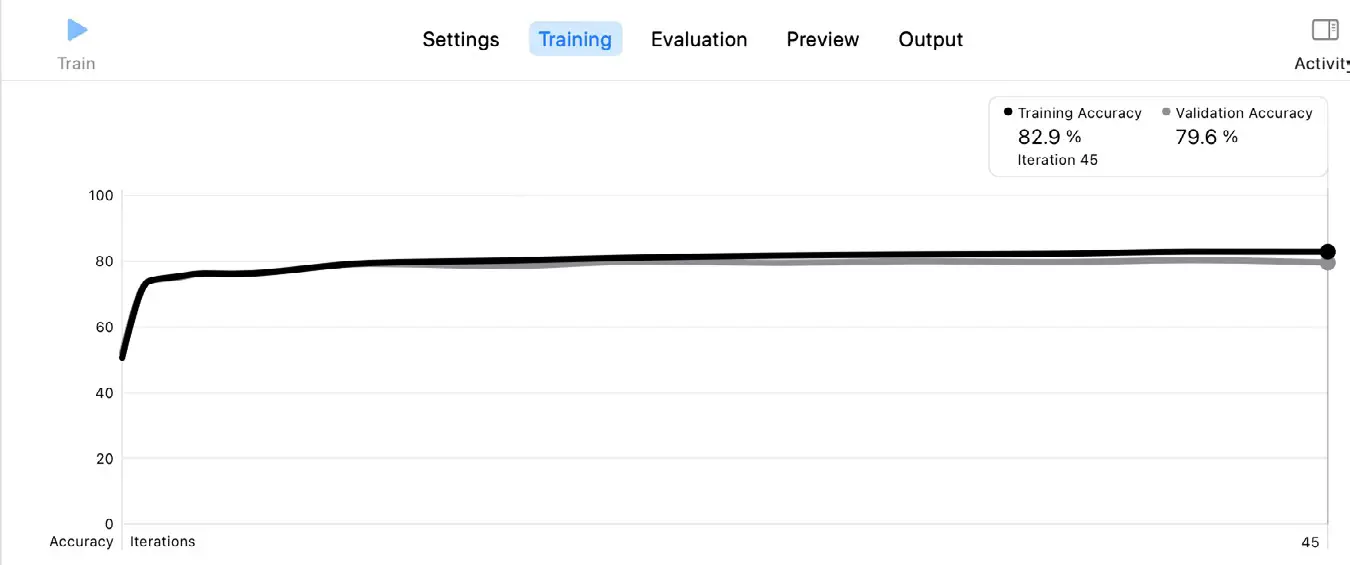
Now that we have loaded the data, we are ready to start training and testing the model by clicking on the Train button indicated by the arrow in Figure 84-4 above. Once the process is complete, select the Training tab to display a graph showing how accuracy improved with each training iteration:
|
You are reading a sample chapter from Building iOS 17 Apps using Xcode Storyboards.
Buy the full book now in eBook or Print format. The full book contains 96 chapters and 760 pages of in-depth information. |
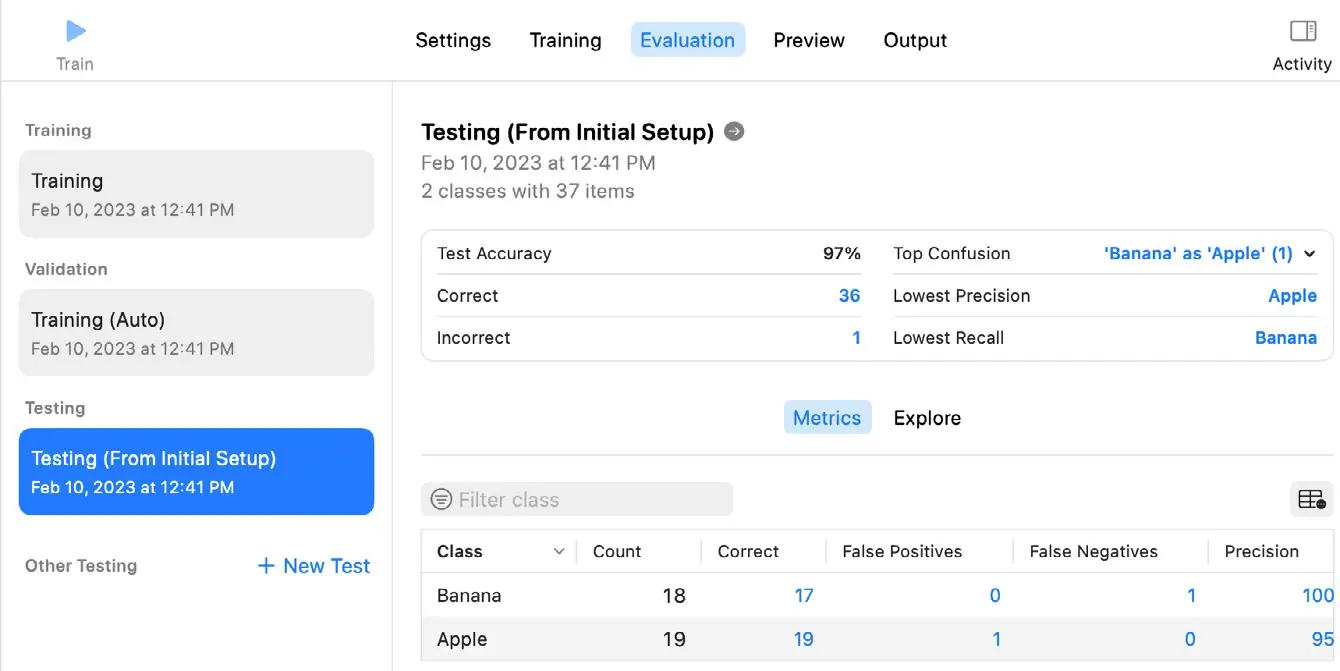
Next, switch to the Evaluation screen to review a more detailed breakdown of the training:
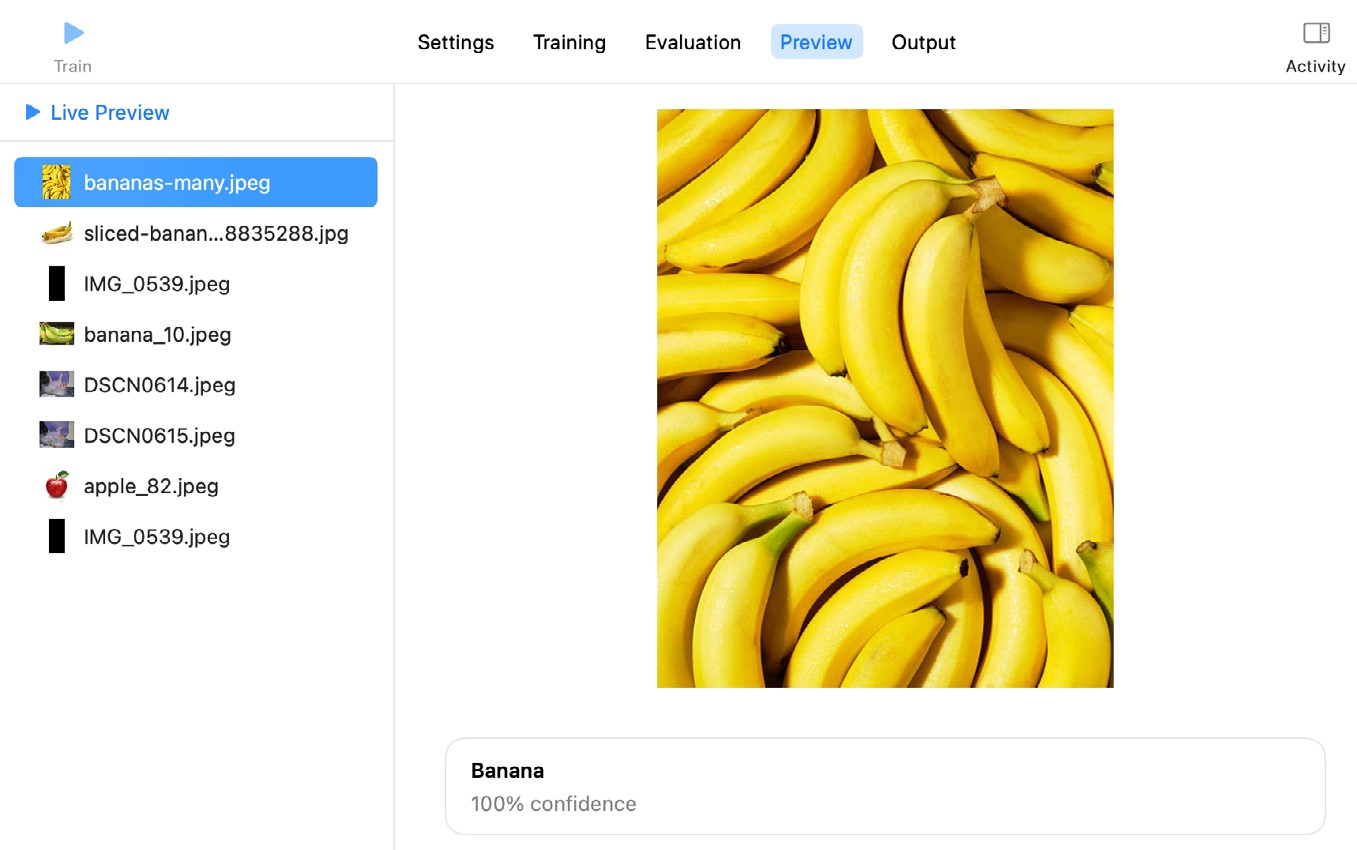
Finally, switch to the Preview screen and drag and drop images for each category that were not part of the training or testing data and see which are successfully classified by the model:
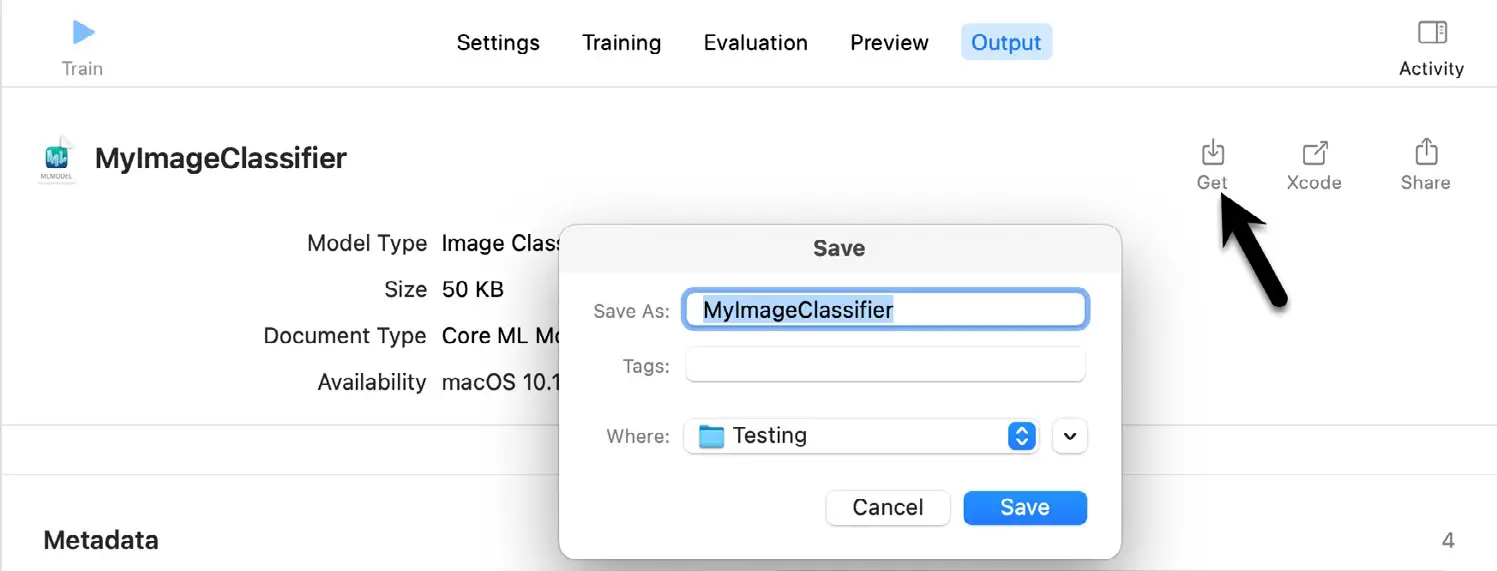
We now need to save the model in preparation for loading it into an Xcode project. To save the model, display the Output screen, click on the Get button highlighted in Figure 84-9, and select a name and location for the model file:
Before exiting from Create ML tool, save the project using the File -> Save… menu option.
Summary
A key component of any machine learning implementation is a well-trained model, and the accuracy of that model is dependent on the dataset used during the model training. Once comprehensive training data has been gathered, Create ML makes creating and testing machine learning models easy. This involves the use of the Create ML classifier builder. This chapter demonstrated the use of the Image classifier builder to create and save a model designed to identify several different object types within images. This model will be used in the next chapter to perform image identification within an existing iOS app.
|
You are reading a sample chapter from Building iOS 17 Apps using Xcode Storyboards.
Buy the full book now in eBook or Print format. The full book contains 96 chapters and 760 pages of in-depth information. |