
The previous chapter outlined how to integrate UIView based components into SwiftUI using the UIViewRepresentable protocol. This chapter will focus on the second option for combining SwiftUI and UIKit within an iOS project in the form of UIViewController integration.
UIViewControllers and SwiftUI
The UIView integration outlined in the previous chapter is useful for integrating either individual or small groups of UIKit-based components with SwiftUI. Existing iOS apps are likely to consist of multiple ViewControllers, each representing an entire screen layout and functionality (also referred to as scenes). SwiftUI allows entire view controller instances to be integrated via the UIViewControllerRepresentable protocol. This protocol is similar to the UIViewRepresentable protocol and works in much the same way with the exception that the method names are different.
The remainder of this chapter will work through an example that demonstrates the use of the UIViewControllerRepresentable protocol to integrate a UIViewController into SwiftUI.
Creating the ViewControllerDemo project
For the purposes of an example, this project will demonstrate the integration of the UIImagePickerController into a SwiftUI project. This is a class that is used to allow the user to browse and select images from the device photo library and for which there is currently no equivalent within SwiftUI.
Just like custom built view controllers in an iOS app UIImagePickerController is a subclass of UIViewController so can be used with UIViewControllerRepresentable to integrate into SwiftUI. Begin by launching Xcode and creating a new Multiplatform App project named ViewControllerDemo.
 |
You are reading a sample chapter from an old edition of iOS App Development Essentials. Purchase the fully updated iOS 18 App Development Essentials book. The full book contains 71 chapters, over 612 pages of in-depth information, downloadable source code, and access to over 50 SwiftUI knowledge test quizzes. |
Wrapping the UIImagePickerController
With the project created, it is time to create a new SwiftUI View file to contain the wrapper that will make the UIPickerController available to SwiftUI. Create this file by right-clicking on the Shared folder item in the project navigator panel, selecting the New File… menu option and creating a new file named MyImagePicker using the SwiftUI View file template.
Once the file has been created, delete the current content and modify the file so that it reads as follows:
import SwiftUI

struct MyImagePicker: UIViewControllerRepresentable {

    func makeUIViewController(context:
              UIViewControllerRepresentableContext<MyImagePicker>) ->
                      UIImagePickerController {
        let picker = UIImagePickerController()
        return picker
    }

    func updateUIViewController(_ uiViewController:
            UIImagePickerController, context:
              UIViewControllerRepresentableContext<MyImagePicker>) {

    }
}

struct MyImagePicker_Previews: PreviewProvider {
    static var previews: some View {
        MyImagePicker()
    }
}Code language: Swift (swift)
If Xcode reports that UIViewControllerRepresentable is undefined, make sure that you have selected an iOS device or simulator as the run target in the toolbar.
Click on the Live Preview button in the canvas to test that the image picker appears as shown in Figure 53-1 below:
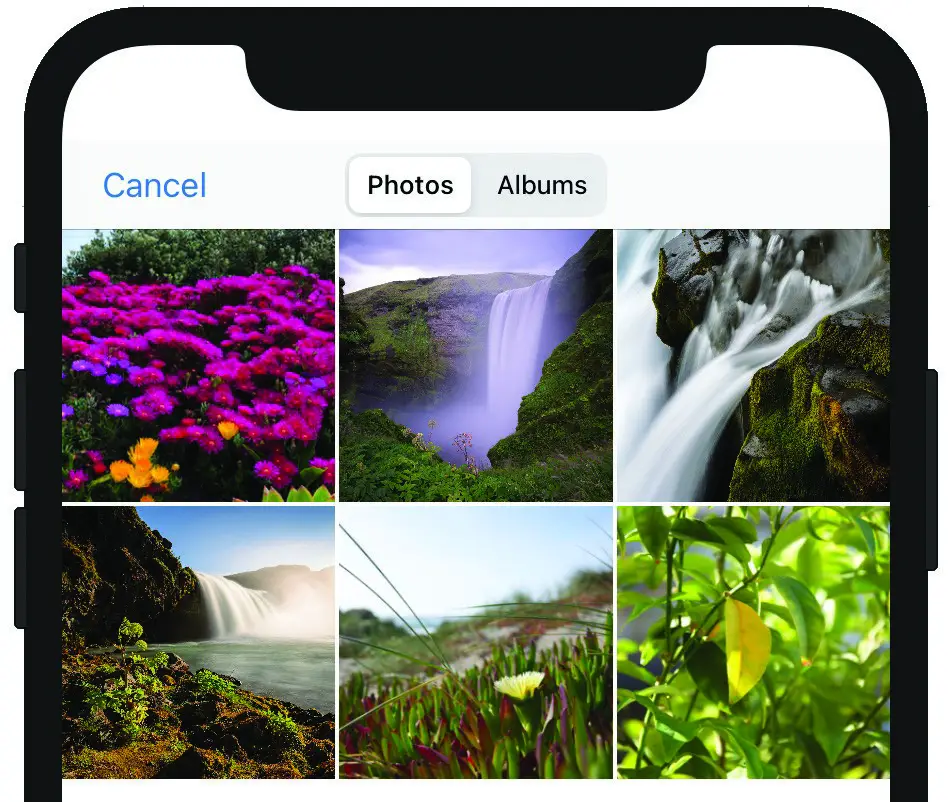
Figure 53-1
|
You are reading a sample chapter from an old edition of iOS App Development Essentials. Purchase the fully updated iOS 18 App Development Essentials book. The full book contains 71 chapters, over 612 pages of in-depth information, downloadable source code, and access to over 50 SwiftUI knowledge test quizzes. |
Designing the Content View
When the project is complete, the content view will display an Image view and a button contained in a VStack. This VStack will be embedded in a ZStack along with an instance of the MyImagePicker view. When the button is clicked, the MyImagePicker view will be made visible over the top of the VStack from which an image may be selected. Once the image has been selected, the image picker will be hidden from view and the selected image displayed on the Image view.
To make this work, two state property variables will be used, one for the image to be displayed and the other a Boolean value to control whether or not the image picker view is currently visible. Bindings for these two variables will be declared in the MyPickerView structure so that changes within the view controller are reflected within the main content view. With these requirements in mind, load the ContentView.swift file into the editor and modify it as follows:
struct ContentView: View {

    @State var imagePickerVisible: Bool = false
    @State var selectedImage: Image? = Image(systemName: "photo")

    var body: some View {
        ZStack {
            VStack {

                selectedImage?
                    .resizable()
                    .aspectRatio(contentMode: .fit)

                Button(action: {
                    withAnimation {
                        self.imagePickerVisible.toggle()
                    }
                }) {
                    Text("Select an Image")
                }

            }.padding()

            if (imagePickerVisible) {
                MyImagePicker()
            }
        }
    }
}
.
.Code language: Swift (swift)
Once the changes have been made, the preview for the view should resemble Figure 53-2:
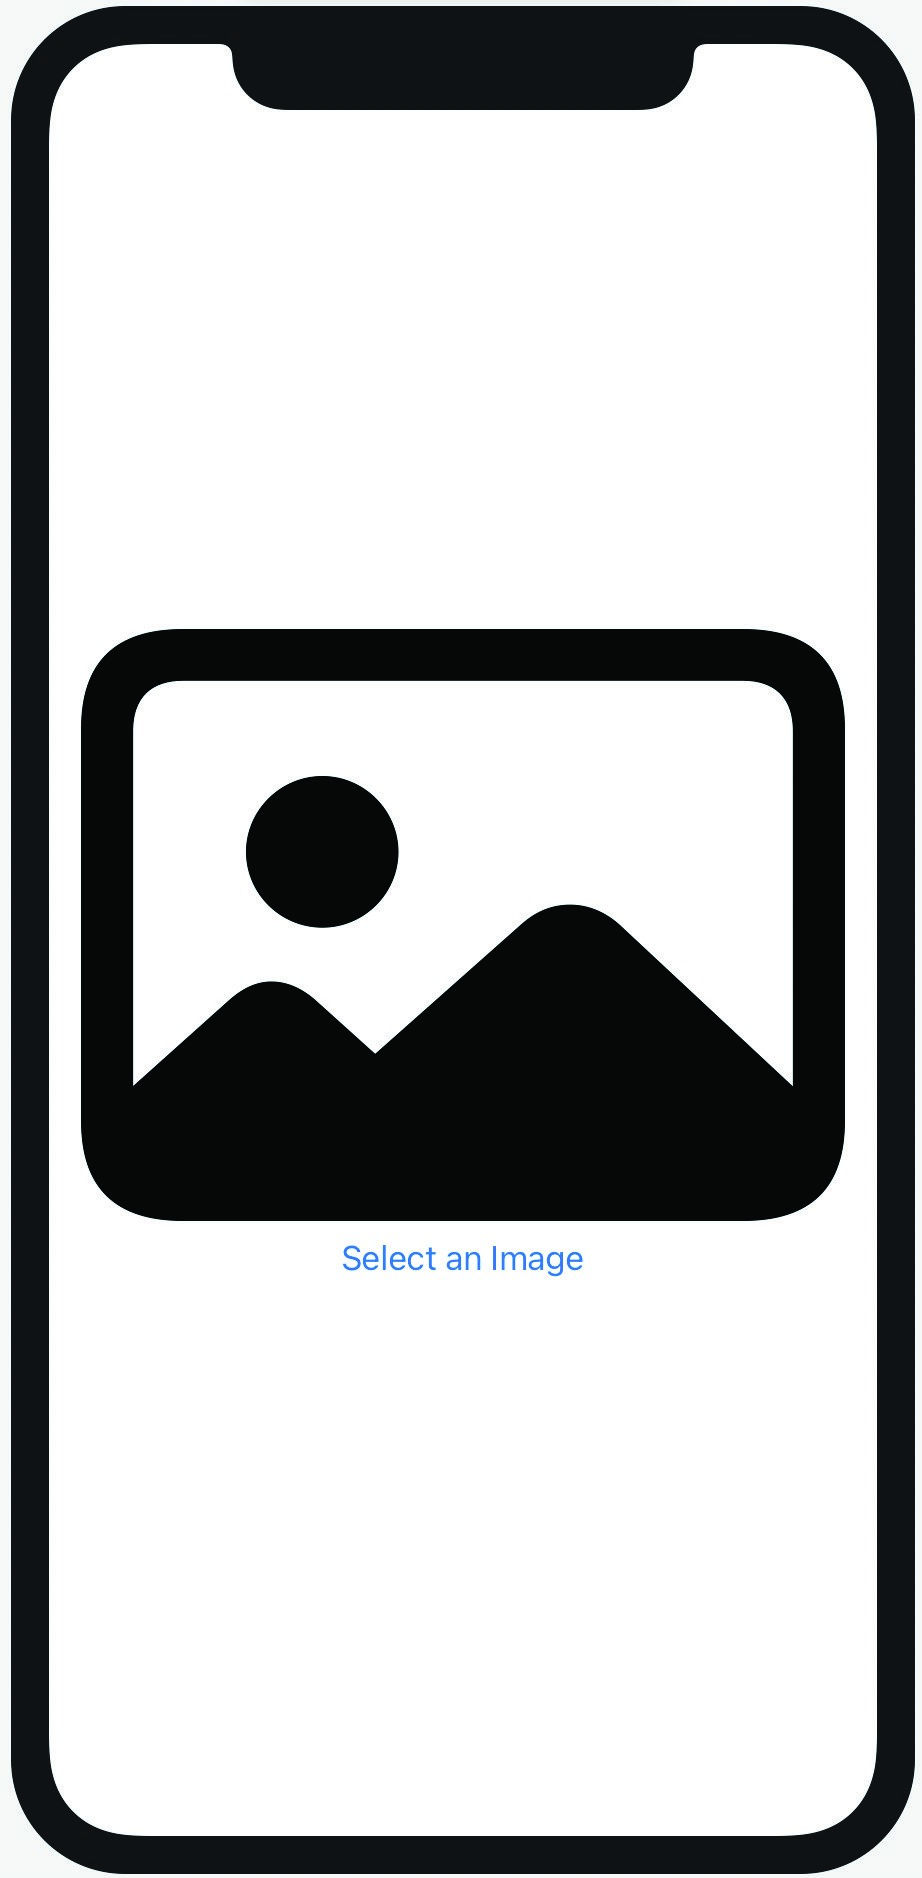
Figure 53-2
Test the view using Live Preview and make sure that clicking on the “Select an Image” button causes the MyPickerView to appear. Note that selecting an image or clicking on the Cancel button does not dismiss the picker. To implement this behavior, some changes are needed within the MyImagePicker declaration.
|
You are reading a sample chapter from an old edition of iOS App Development Essentials. Purchase the fully updated iOS 18 App Development Essentials book. The full book contains 71 chapters, over 612 pages of in-depth information, downloadable source code, and access to over 50 SwiftUI knowledge test quizzes. |
Completing MyImagePicker
A few remaining tasks now need to be completed within the MyImagePicker.swift file. First, bindings to the two ContentView state properties need to be declared:
struct MyImagePicker: UIViewControllerRepresentable {

    @Binding var imagePickerVisible: Bool
    @Binding var selectedImage: Image?
.
.Code language: Swift (swift)
Next, a coordinator needs to be implemented to act as the delegate for the UIImagePickerView instance. This will require that the coordinator class conform to both the UINavigationControllerDelegate and UIImagePickerControllerDelegate protocols. The coordinator will need to receive notification when an image is picked, or the user taps the cancel button so the imagePickerControllerDidCancel and didFinishPickingMediaWithInfo delegate methods will both need to be implemented.
In the case of the imagePickerControllerDidCancel method, the imagePickerVisible state property will need to be set to false. This will result in a state change within the content view causing the image picker to be removed from view.
The didFinishPickingMediaWithInfo method, on the other hand, will be passed the selected image which it will need to assign to the currentImage property before also setting the imagePickerVisible property to false.
The coordinator will also need local copies of the state property bindings. Bringing these requirements together results in a coordinator which reads as follows:
|
You are reading a sample chapter from an old edition of iOS App Development Essentials. Purchase the fully updated iOS 18 App Development Essentials book. The full book contains 71 chapters, over 612 pages of in-depth information, downloadable source code, and access to over 50 SwiftUI knowledge test quizzes. |
class Coordinator: NSObject, UINavigationControllerDelegate,
                     UIImagePickerControllerDelegate {

    @Binding var imagePickerVisible: Bool
    @Binding var selectedImage: Image?

    init(imagePickerVisible: Binding<Bool>,
                      selectedImage: Binding<Image?>) {
        _imagePickerVisible = imagePickerVisible
        _selectedImage = selectedImage
    }

    func imagePickerController(_ picker: UIImagePickerController,
                               didFinishPickingMediaWithInfo
                info: [UIImagePickerController.InfoKey : Any]) {
        let uiImage =
            info[UIImagePickerController.InfoKey.originalImage] as!
                                                               UIImage
        selectedImage = Image(uiImage: uiImage)
        imagePickerVisible = false
    }

    func imagePickerControllerDidCancel(_
                        picker: UIImagePickerController) {
        imagePickerVisible = false
    }
}Code language: Swift (swift)
Remaining in the MyPickerView.swift file, add the makeCoordinator() method, remembering to pass through the two state property bindings:
func makeCoordinator() -> Coordinator {
    return Coordinator(imagePickerVisible: $imagePickerVisible,
                            selectedImage: $selectedImage)
}Code language: Swift (swift)
Finally, modify the makeUIVewController() method to assign the coordinator as the delegate and comment out the preview structure to remove the remaining syntax errors:
func makeUIViewController(context:
        UIViewControllerRepresentableContext<MyImagePicker>) ->
                 UIImagePickerController {
    let picker = UIImagePickerController()
    picker.delegate = context.coordinator
    return picker
}
.
.
/*
struct MyImagePicker_Previews: PreviewProvider {
    static var previews: some View {
        MyImagePicker()
    }
}
*/Code language: Swift (swift)
Completing the Content View
The final task before testing the app is to modify the Content View so that the two state properties are passed through to the MyImagePicker instance. Edit the ContentView.swift file and make the following modifications:
struct ContentView: View {

    @State var imagePickerVisible: Bool = false
    @State var selectedImage: Image? = Image(systemName: "photo")

    var body: some View {
.
.
        if (imagePickerVisible) {
                MyImagePicker(imagePickerVisible:
                        $imagePickerVisible,
                           selectedImage: $selectedImage)
        }
.
.Code language: Swift (swift)
Testing the App
With the ContentView.swift file still loaded into the editor, enable Live Preview mode and click on the “Select an Image” button. When the picker view appears, navigate to and select an image. When the image has been selected, the picker view should disappear to reveal the selected image displayed on the Image view:
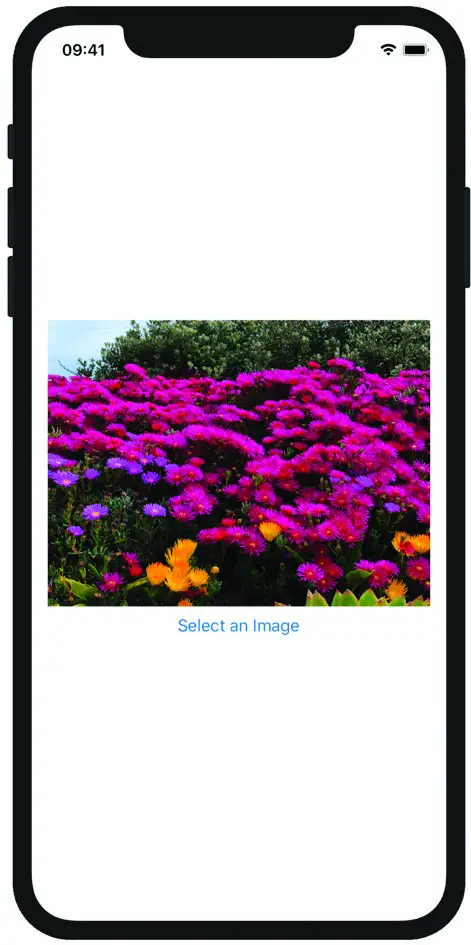
Figure 53-3
|
You are reading a sample chapter from an old edition of iOS App Development Essentials. Purchase the fully updated iOS 18 App Development Essentials book. The full book contains 71 chapters, over 612 pages of in-depth information, downloadable source code, and access to over 50 SwiftUI knowledge test quizzes. |
Click the image selection button once again, this time testing that the Cancel button dismisses the image picker without changing the selected image.
Summary
In addition to allowing for the integration of individual UIView based objects into SwiftUI projects, it is also possible to integrate entire UIKit view controllers representing entire screen layouts and functionality. View controller integration is similar to working with UIViews, involving wrapping the view controller in a structure conforming to the UIViewControllerRepresentable protocol and implementing the associated methods. As with UIView integration, delegates and data sources for the view controller are handled using a Coordinator instance.