
The previous chapter explored how to create KVM virtual machines on Rocky Linux 9 using the Cockpit web tool. With the caveat that virt-manager may one day be discontinued once the Virtual Machines Cockpit extension is fully implemented, this chapter will cover using this tool to create new virtual machines.
Starting the Virtual Machine Manager
If you have not already done so, install the virt-manager package as follows:
# dnf install virt-managerCode language: plaintext (plaintext)Next, launch Virtual Machine Manager from the command line in a terminal window by running virt-manager. Once loaded, the virtual machine manager will prompt for the password of the currently active user before displaying the following screen:
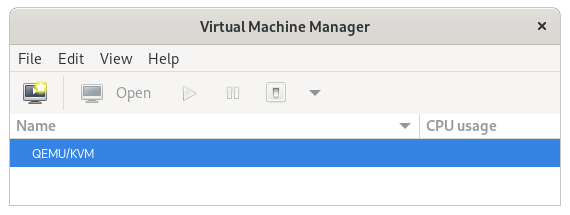
The main screen lists the current virtual machines running on the system. By default, the manager should be connected to the system libvirtd instance. If it is not, connect to the host system by right-clicking on the entry in the list and selecting Connect from the popup menu. To manage session-based virtual machines, select the File -> Add Connection… menu option to display the dialog shown in Figure 23-2:
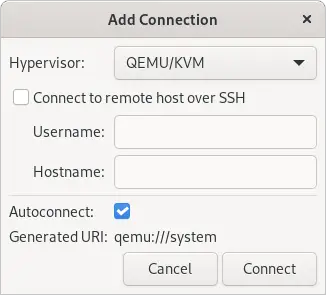
Select QEMU/KVM user session from the Hypervisor menu and click the Connect button within this dialog. On returning to the main virt-manager screen, the QEMU/KVM session should now be listed as shown in Figure 23-1 above.
 |
You are reading a sample chapter from Rocky Linux 9 Essentials. Buy the full book now in eBook or Print format.
Full book includes 34 chapters and 290 pages. Learn more. |
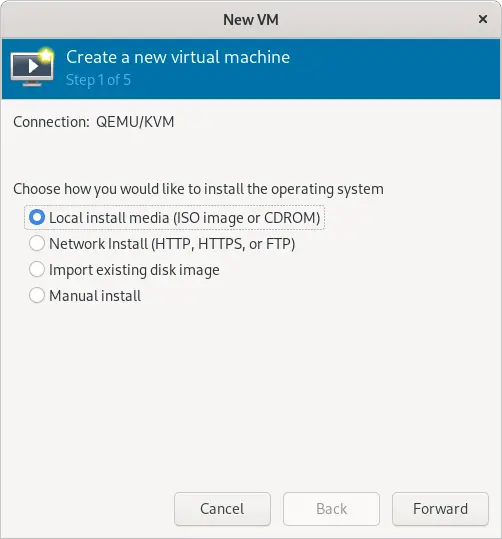
To create a virtual system, click on the new virtual machine button (the far left button in the toolbar) to display the first screen of the New VM wizard. In the Name field, enter a suitably descriptive name for the virtual system. On this screen, also select the location of the media from which the guest operating system will be installed. This can either be a CD or DVD drive, an ISO image file accessible to the local host, a network install using HTTP, FTP, NFS, or PXE, or the disk image from an existing virtual machine:
Configuring the KVM Virtual System
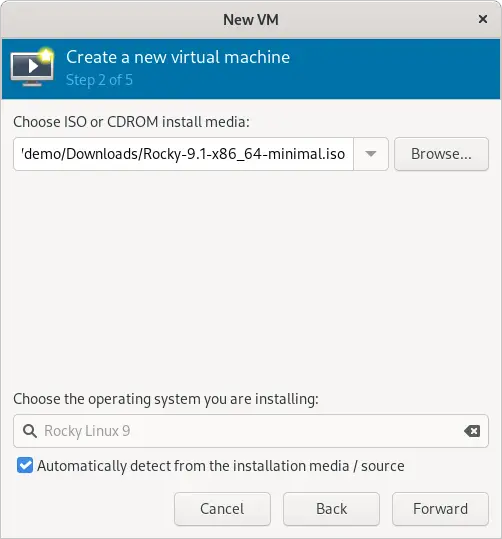
Clicking Forward will display a screen seeking additional information about the installation process. The displayed screen and information required will depend on selections made on the initial screen. For example, if a CD, DVD, or ISO is selected, this screen will ask for the specific location of the ISO file or physical media device. This screen also attempts to identify the type and version of the guest operating system (for example, the Windows version or Linux distribution) based on the specified installation media. If it is unable to do so, uncheck the Automatically detect from installation media/source option, type in the first few characters of the operating system name, and select an option from the list of possible matches:
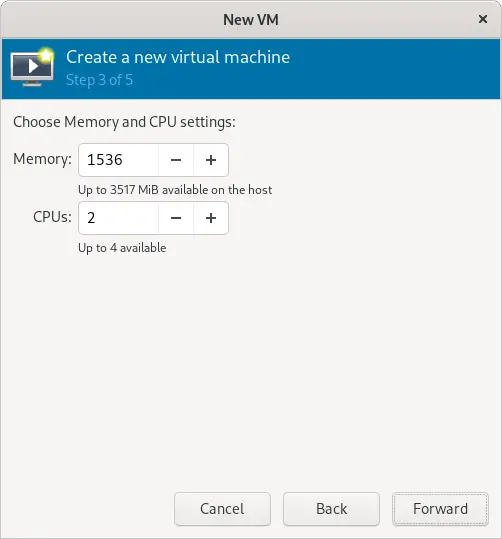
Once these settings are complete, click the Forward button to configure CPU and memory settings. The optimal settings will depend on the number of CPUs and amount of physical memory present in the host, together with the requirements of other applications and virtual machines that will run in parallel with the new virtual machine:
On the next screen, options are available to create an image disk of a specified size, select a preexisting volume, or create a storage volume of a specified format (raw, vmdk, ISO, etc.). Unless you have a specific need to use a particular format (for example, you might need to use vmdk to migrate to a VMware-based virtualization environment at a later date) or need to use a dedicated disk or partition, it is generally adequate to specify a size on this screen:
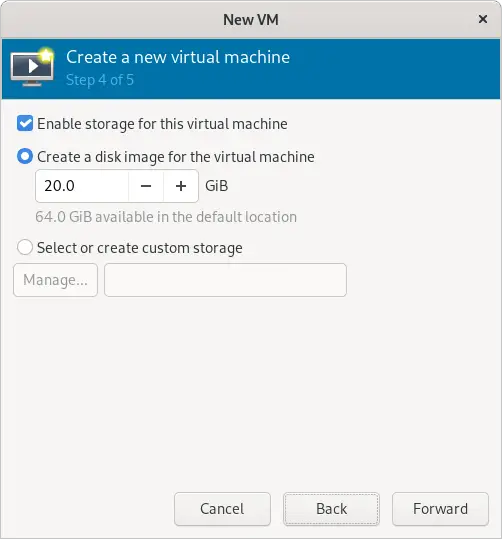
If the default settings are used here, the virtual machine will use a storage volume within the default storage pool for the virtual disk drive. To use the custom “MyPool” storage pool created earlier in the chapter, enable the Select or create custom storage option before clicking the Manage… button. In the storage volume dialog, select the MyPool entry in the left-hand panel, followed by the + button in the main panel to create a new storage volume:
|
You are reading a sample chapter from Rocky Linux 9 Essentials. Buy the full book now in eBook or Print format.
Full book includes 34 chapters and 290 pages. Learn more. |
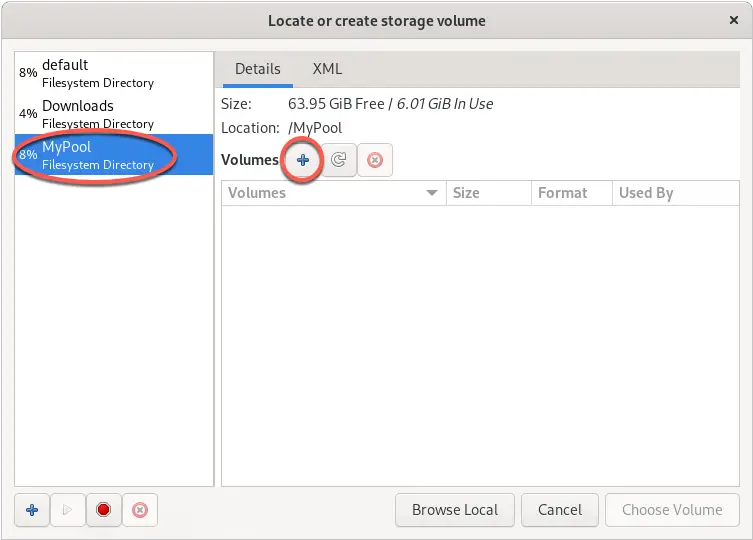
Note that the + button in the bottom left-hand corner of the dialog may also be used to create new storage pools as an alternative to using the Cockpit interface.
In the configuration screen (Figure 23-8), name the storage volume, select the volume size, and click on the Finish button to create the volume and assign it to the virtual machine:

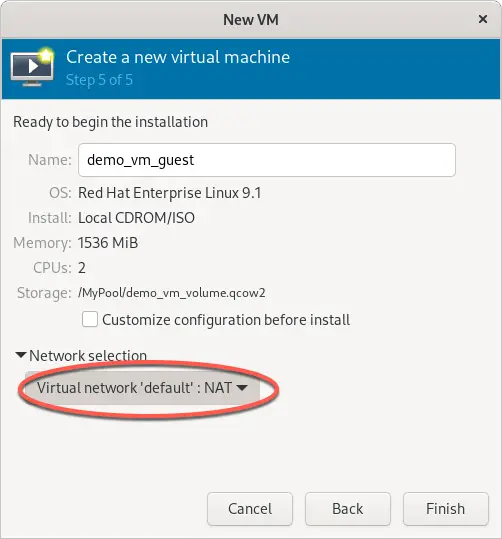
Once these settings are configured, select the new volume and click the Choose Volume button. Then, click the Forward button once more. The final screen displays a summary of the configuration. Review the information displayed. Advanced options are also available to change the virtual network configuration for the guest, as shown in Figure 23-9:
Starting the KVM Virtual Machine
Click on the Finish button to begin the creation process. The virtualization manager will create the disk and configure the virtual machine before starting the guest system. Finally, the new virtual machine will appear in the main virt-manager window with the status set to Running as illustrated in Figure 23-10:
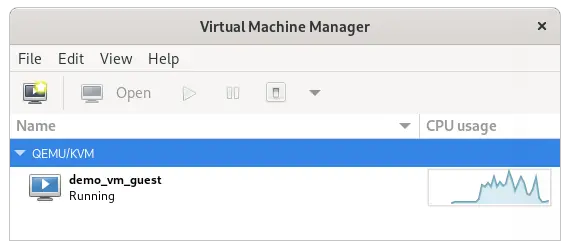
By default, the console for the virtual machine should appear in the virtual machine viewer window. To view the console of the running machine at any future time, ensure that it is selected in the virtual machine list and select the Open button from the toolbar. The virtual machine viewer should be ready for the installation process to begin:
|
You are reading a sample chapter from Rocky Linux 9 Essentials. Buy the full book now in eBook or Print format.
Full book includes 34 chapters and 290 pages. Learn more. |
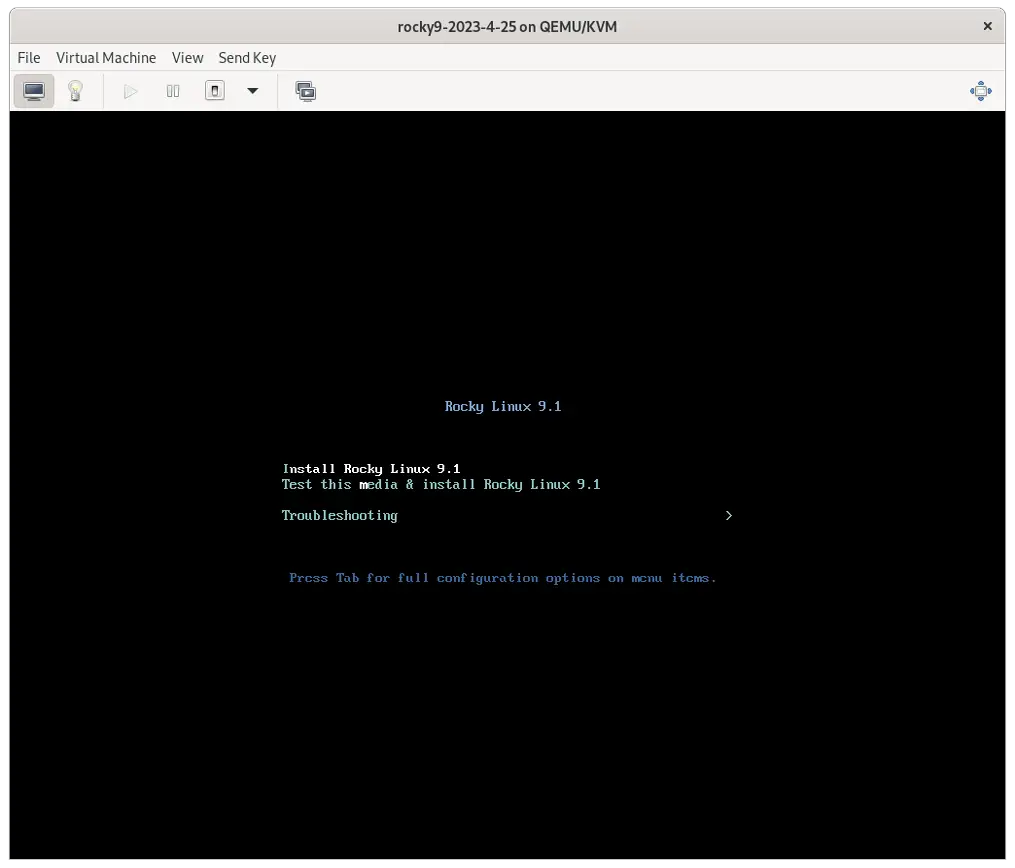
From now on, follow the installation instructions to install the guest OS in the KVM virtual machine.
Summary
There are several ways to create new KVM-based virtual machines on a Rocky Linux 9 host system. This chapter uses the virt-manager graphical tool to create, configure, and run a guest operating system, including creating a new storage volume. With these basics covered, the next chapter will cover the creation of virtual machines from the command line.