In this final chapter devoted to Content Providers, we will build an app that accesses the data contained in our SQLDemo content provider and displays the list of customer contacts.
Creating the SQLDemoClient Project
Start Android Studio, select the New Project option from the welcome screen, and choose the Empty Views Activity template within the resulting new project dialog before clicking on the Next button.
Enter SQLDemoClient into the Name field and specify com.ebookfrenzy.sqldemoclient as the package name. Before clicking the Finish button, change the Minimum API level setting to API 33: Android 13 (Tiramisu) and the Language menu to Kotlin. Use the steps in An Overview of Android View Binding to enable view binding for the project.
Designing the User interface
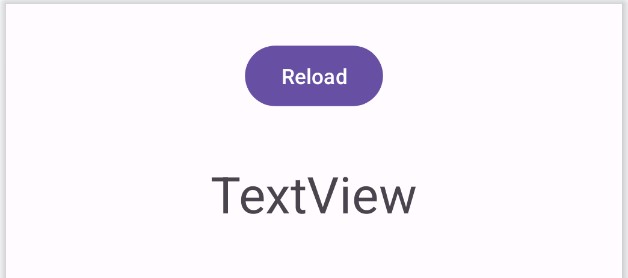
Open the activity_main.xml file and remove the default TextView. Add a button and a TextView to the layout, change the button text to read “Reload”, and position the views so that the layout resembles Figure 41-1:

Use the Infer constraints button to configure the layout constraints, change the textAppearance property of the TextView to Display1 and set the onClick attribute on the button to a method named reload().
Accessing the Content Provider
The code to access the content provider will be contained in the reload() method. The first step is to obtain a Cursor object by calling the query() method of the Content Resolver instance. When calling query(), we need to provide the content URI for the customers table managed by SQLDemo’s content provider, which will read as follows:
content://com.ebookfrenzy.sqldemo.provider.MyContentProvider/customers
Once we have a reference to the Cursor object, we can step through the database records and display the data using our TextView component. Edit the MainActivity.kt file and add the reload() method as follows:
.
.
import android.net.Uri
import android.view.View
.
.
class MainActivity : AppCompatActivity() {
.
.
    fun reload(view: View?) {
        val cursor = contentResolver.query(
          Uri.parse(
     "content://com.ebookfrenzy.sqldemo.provider.MyContentProvider/customers"),
                                              null, null, null, null)

        if (cursor != null) {
            if (cursor.moveToFirst()) {
                val stringBldr = StringBuilder()

                while (!cursor.isAfterLast) {
                    val nameindex = cursor.getColumnIndex("customername")
                    val phoneindex = cursor.getColumnIndex("customerphone")

                    if ((nameindex != -1) && (phoneindex != -1)) {
                        val string = cursor.getString(nameindex) + " " +
                            cursor.getString(phoneindex)

                        stringBldr.append("""

                            ${string}

                        """.trimIndent())
                        binding.textView.text = stringBldr
                    }
                    cursor.moveToNext()
                }
            }
            cursor.close()
        }
    }
}Code language: Kotlin (kotlin)
Adding the Query Permission
Before we can test the app, the final task is to request permission to query the content provider. To request permission, edit the manifests -> AndroidManifest.xml file and modify it as follows:
<?xml version="1.0" encoding="utf-8"?>
<manifest xmlns:android="http://schemas.android.com/apk/res/android"
    xmlns:tools="http://schemas.android.com/tools">

    <queries>
        <provider android:authorities="com.ebookfrenzy.sqldemo.provider.MyContentProvider" />
    </queries>
.
.Code language: HTML, XML (xml)
Testing the Project
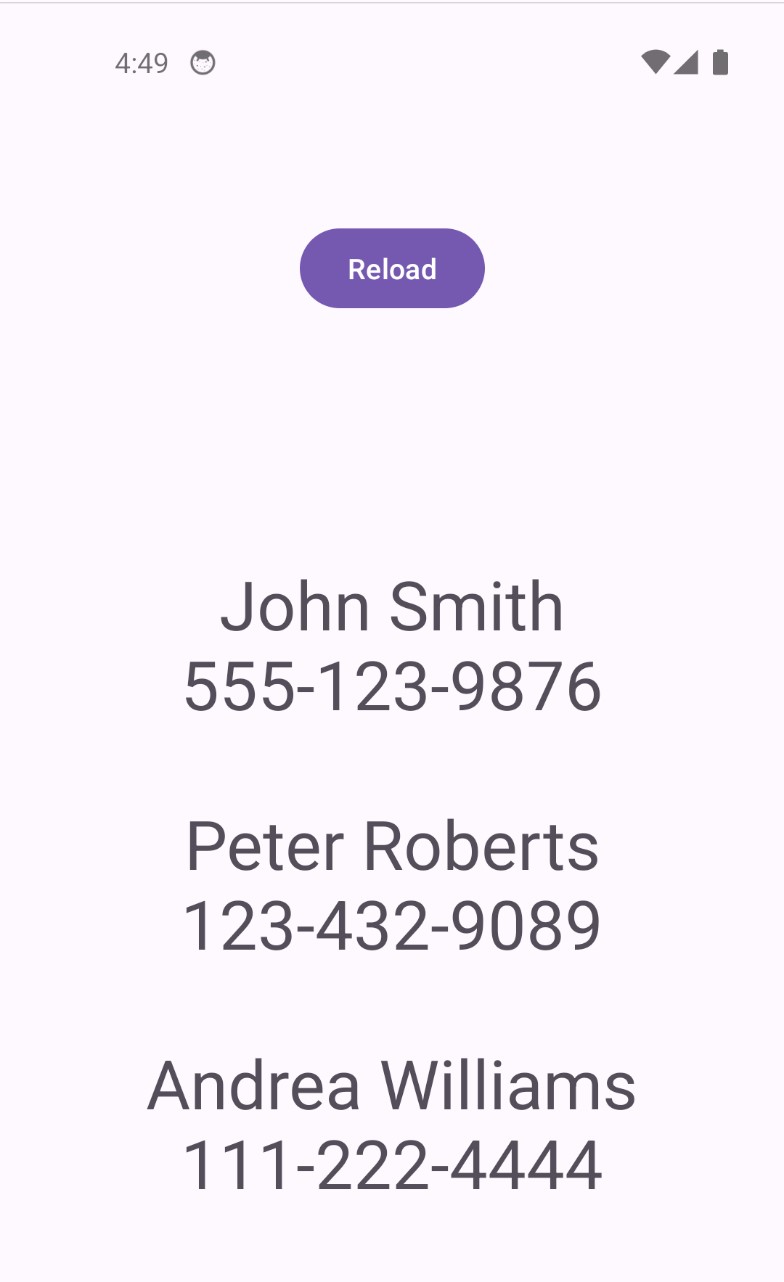
Build and run the app on the device or emulator you used to test the SQLDemo app and tap the Reload button. The app should query the records in the customers database and display them on the TextView:

Summary
In this chapter, we created a simple app to demonstrate accessing the data stored in a content provider from a client app. This involved passing the provider’s content URI to the query() method of the content resolver instance and requesting query permission from the content provider in the project manifest file. The query() call returned a Cursor object we used to step through the database records.

