
Posted: 2024-03-19
The Apache web server is among the many packages that make up the AlmaLinux 9 operating system. The scalability and resilience of AlmaLinux 9 make it an ideal platform for hosting even the most heavily trafficked websites.
This chapter will explain how to configure an AlmaLinux 9 system using Apache to act as a web server, including secure (HTTPS) and insecure (HTTP) configurations.
Requirements for Configuring an AlmaLinux 9 Web Server
To set up your own website, you need a computer (or cloud server instance), an operating system, a web server, a domain name, a name server, and an IP address.
As previously mentioned, AlmaLinux 9 supports the Apache web server, which can easily be installed once the operating system is up and running. In addition, a domain name can be registered with any domain name registration service.
 |
You are reading a sample chapter from AlmaLinux 9 Essentials. Buy the full book now in eBook format.
Full book includes 34 chapters and 290 pages. Learn more. |
If you are running AlmaLinux 9 on a cloud instance, the IP address assigned by the provider will be listed in the server overview information. However, if you are hosting your own server and your internet service provider (ISP) has assigned a static IP address, you must associate your domain with that address. This is achieved using a name server, and all domain registration services will provide this service.
If you do not have a static IP address (i.e., your ISP provides you with a dynamic address that changes frequently), you can use one of several free Dynamic DNS (DDNS or DynDNS for short) services to map your dynamic IP address to your domain name.
Once you have configured your domain name and your name server, the next step is to install and configure your web server.
Installing the Apache Web Server Packages
The current release of AlmaLinux typically does not install the Apache web server by default. To check whether the server is already installed, run the following command:
# rpm -q httpdCode language: plaintext (plaintext)If rpm generates output similar to the following, the Apache server is already installed:
|
You are reading a sample chapter from AlmaLinux 9 Essentials. Buy the full book now in eBook format.
Full book includes 34 chapters and 290 pages. Learn more. |
httpd-2.4.57-2.el9.x86_64Code language: plaintext (plaintext)Alternatively, if rpm generates a “package httpd is not installed” message, the next step is to install it. To install Apache, run the following command at the command prompt:
# dnf install httpdCode language: plaintext (plaintext)Configuring the Firewall
Before starting and testing the Apache web server, the firewall must be modified to allow the web server to communicate with the outside world. By default, the HTTP and HTTPS protocols use ports 80 and 443, respectively, so depending on which protocols are being used, either one or both of these ports will need to be opened. When opening the ports, be sure to specify the firewall zone that applies to the internet-facing network connection:
# firewall-cmd --permanent --zone=<zone> --add-port=80/tcp
# firewall-cmd --permanent --zone=<zone> --add-port=443/tcpCode language: plaintext (plaintext)
After opening the necessary ports, be sure to reload the firewall settings:
# firewall-cmd --reloadCode language: plaintext (plaintext)On cloud-hosted servers, enabling the appropriate port for the server instance within the cloud console may also be necessary. Check the documentation for the cloud provider for steps to do this.
Port Forwarding
Suppose the AlmaLinux 9 system hosting the web server sits on a network protected by a firewall (another computer running a firewall, router, or wireless base station containing built-in firewall protection). In that case, you must configure the firewall to forward ports 80 and 443 to your web server system. The mechanism for performing this differs between firewalls and devices, so check your documentation to find out how to configure port forwarding.
|
You are reading a sample chapter from AlmaLinux 9 Essentials. Buy the full book now in eBook format.
Full book includes 34 chapters and 290 pages. Learn more. |
Starting the Apache Web Server
Once the Apache server is installed and the firewall configured, the next step is to verify that the server is running and start it if necessary.
To check the status of the Apache service from the command line, enter the following at the command prompt:
# systemctl status httpdCode language: plaintext (plaintext)If the above command indicates that the service is not running, it can be launched from the command line as follows:
# systemctl start httpdCode language: plaintext (plaintext)If you would like the Apache httpd service to start automatically when the system boots, run the following command:
# systemctl enable httpdCode language: plaintext (plaintext)Testing the Web Server
Once the installation is complete, the next step is verifying the web server is running.
|
You are reading a sample chapter from AlmaLinux 9 Essentials. Buy the full book now in eBook format.
Full book includes 34 chapters and 290 pages. Learn more. |
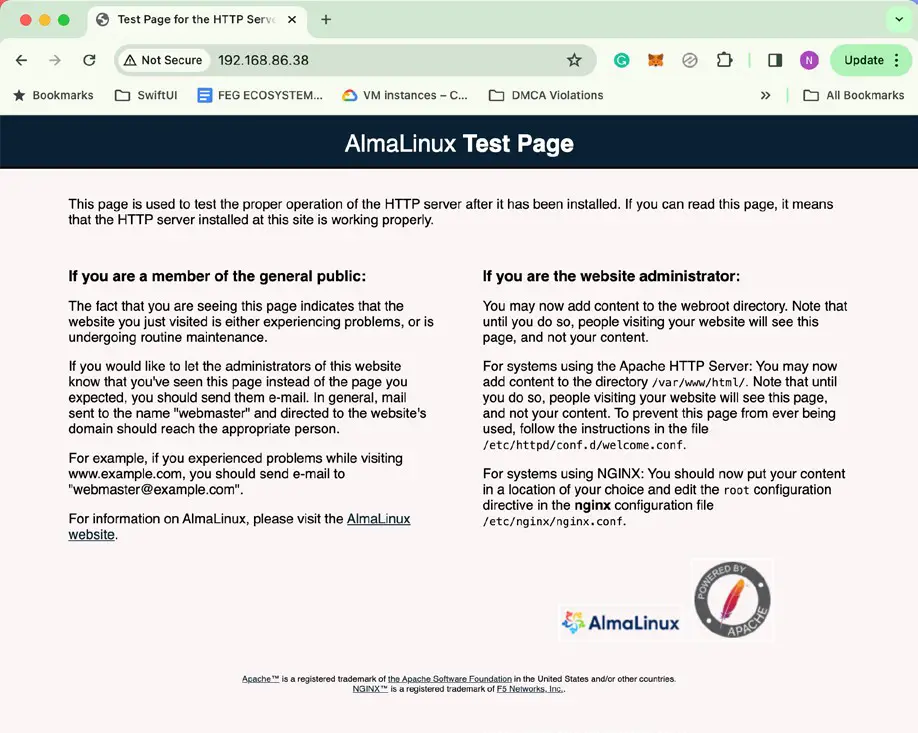
If you have access (either locally or remotely) to the desktop environment of the server, start up a web browser and enter http://127.0.0.1 in the address bar (127.0.0.1 is the loop-back network Setting Up a AlmaLinux 9 Web Server address that tells the system to connect to the local machine). If everything is set up correctly, the browser should load the test page shown in Figure 29-1:
If the desktop environment is unavailable, connect either from another system on the same local network as the server, or use the external IP address assigned to the system if it is hosted remotely.
Configuring the Apache Web Server for Your Domain
The next step in setting up your web server is configuring it for your domain name. To configure the web server, begin by changing directory to /etc/httpd, which, in turn, contains several files and sub-directories.
The Basics of a Secure Website
The web server and website created in this chapter use the HTTP protocol on port 80 and, as such, are considered to be insecure. The problem is that the traffic between the web server and the client (typically a user’s web browser) is transmitted in clear text. In other words, the data is unencrypted and susceptible to interception. While not a problem for general web browsing, this is a severe weakness when performing tasks such as logging into websites or transferring sensitive information such as identity or credit card details.
These days, websites are expected to use HTTPS, which uses either Secure Socket Layer (SSL) or Transport Layer Security (TLS) to establish secure, encrypted communication between a web server and a client. This security is established through the use of public, private, and session encryption together with certificates.
|
You are reading a sample chapter from AlmaLinux 9 Essentials. Buy the full book now in eBook format.
Full book includes 34 chapters and 290 pages. Learn more. |
To support HTTPS, a website must have a certificate issued by a trusted authority known as a Certificate Authority (CA). When a browser connects to a secure website, the web server sends back a copy of the website’s SSL certificate, which also contains a copy of the site’s public key. The browser then validates the authenticity of the certificate with trusted certificate authorities. If the certificate is valid, the browser uses the public key sent by the server to encrypt a session key and pass it to the server. The server decrypts the session key using the private key to send an encrypted acknowledgment to the browser. Once this process is complete, the browser and server use the session key to encrypt all subsequent data transmissions until the session ends.
Configuring Apache for HTTPS
By default, the Apache server does not include the necessary module to implement a secure HTTPS website. The first step, therefore, is to install the Apache mod_ssl module on the server system as follows:
# dnf install mod_sslCode language: plaintext (plaintext)Restart after the installation completes to load the new module into the Apache server:
# systemctl restart httpdCode language: plaintext (plaintext)Check that the module has loaded into the server using the following command:
# httpd -M | grep ssl_module
 ssl_module (shared)Code language: plaintext (plaintext)
Assuming the module is installed, the next step is to generate an SSL certificate for the website.
|
You are reading a sample chapter from AlmaLinux 9 Essentials. Buy the full book now in eBook format.
Full book includes 34 chapters and 290 pages. Learn more. |
Obtaining an SSL Certificate
The certificate for a website must be obtained from a Certificate Authority. Several options are available at a range of prices. By far the best option, however, is to obtain a free certificate from Let’s Encrypt at the following URL:
Obtaining a certificate from Let’s Encrypt involves installing and running the Certbot tool. This tool will scan the Apache configuration files on the server and provide the option to generate certificates for any virtual hosts configured on the system. It will then generate the certificate and add virtual host entries to the Apache configuration for the corresponding websites.
Follow the steps on the Let’s Encrypt website to download and install Certbot on your AlmaLinux 9 system, then run the certbot tool as follows to generate and install the certificate:
# certbot --apacheCode language: plaintext (plaintext)After requesting an email address and seeking terms of service acceptance, Certbot will list the domains found in the httpd.conf file and allow the selection of one or more sites for which a certificate will be installed. Certbot will then perform some checks before obtaining and installing the certificate on the system:
|
You are reading a sample chapter from AlmaLinux 9 Essentials. Buy the full book now in eBook format.
Full book includes 34 chapters and 290 pages. Learn more. |
Which names would you like to activate HTTPS for?
- - - - - - - - - - - - - - - - - - - - - - - - - - - - - - - - - - - - - - - -
1: www.myexample.com
- - - - - - - - - - - - - - - - - - - - - - - - - - - - - - - - - - - - - - - -
Select the appropriate numbers separated by commas and/or spaces, or leave input
blank to select all options shown (Enter ‘c’ to cancel): 1
Obtaining a new certificate
Performing the following challenges:
http-01 challenge for www.myexample.com
Waiting for verification...
Cleaning up challenges
Created an SSL vhost at /etc/httpd/conf/httpd-le-ssl.conf
Deploying Certificate to VirtualHost /etc/httpd/conf/httpd-le-ssl.conf
Enabling site /etc/httpd/conf/httpd-le-ssl.conf by adding Include to root configurationCode language: plaintext (plaintext)
Certbot will also create a new file named httpd-le-ssl.conf in the /etc/httpd/conf directory containing a secure virtual host entry for each domain name for which a certificate has been generated. These entries will be similar to the following:
<IfModule mod_ssl.c>
<VirtualHost *:443>
    ServerAdmin [email protected]
    ServerName www.myexample.com
    DocumentRoot /var/www/myexample
    ErrorLog logs/myexample_error_log
    CustomLog logs/myexample_access_log combined

SSLCertificateFile /etc/letsencrypt/live/www.myexample.com/fullchain.pem
SSLCertificateKeyFile /etc/letsencrypt/live/www.myexample.com/privkey.pem
Include /etc/letsencrypt/options-ssl-apache.conf
</VirtualHost>
</IfModule>Code language: plaintext (plaintext)
Finally, Certbot will ask whether the server should redirect future HTTP web requests to HTTPS. In other words, if a user attempts to access http://www.myexample.com, the web server will redirect the user to https://www.myexample.com:
Please choose whether or not to redirect HTTP traffic to HTTPS, removing HTTP access.
- - - - - - - - - - - - - - - - - - - - - - - - - - - - - - - - - - - - - - - -
1: No redirect - Make no further changes to the webserver configuration.
2: Redirect - Make all requests redirect to secure HTTPS access. Choose this for
new sites, or if you’re confident your site works on HTTPS. You can undo this
change by editing your web server’s configuration.
- - - - - - - - - - - - - - - - - - - - - - - - - - - - - - - - - - - - - - - -
Select the appropriate number [1-2] then [enter] (press ‘c’ to cancel): 2Code language: plaintext (plaintext)
If you are currently testing the HTTPS configuration and would like to keep the HTTP version live until later, select the No redirect option. Otherwise, redirecting to HTTPS is generally recommended.
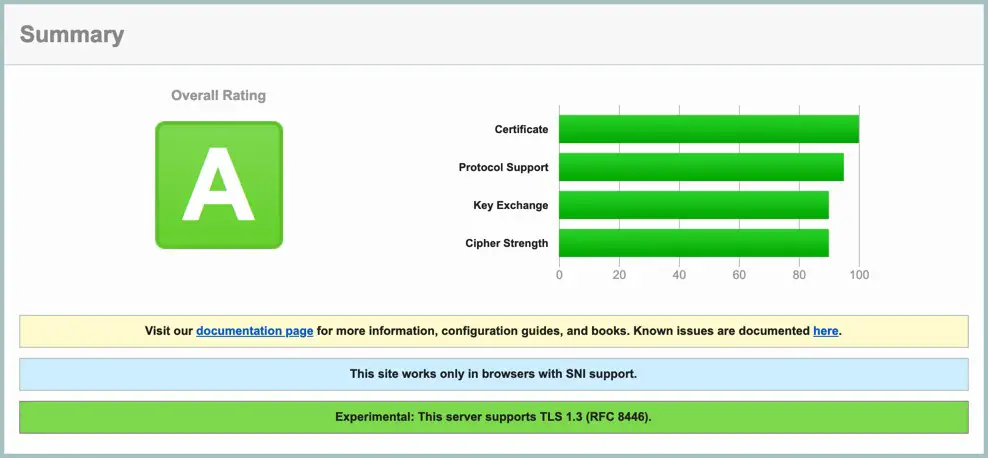
Once the certificate has been installed, test it in a browser at the following URL (replacing myexample.com with your own domain name):
https://www.ssllabs.com/ssltest/analyze.html?d=www.myexample.com
|
You are reading a sample chapter from AlmaLinux 9 Essentials. Buy the full book now in eBook format.
Full book includes 34 chapters and 290 pages. Learn more. |
If the certificate configuration is successful, the SSL Labs report will provide a high rating, as shown in Figure 29-2:
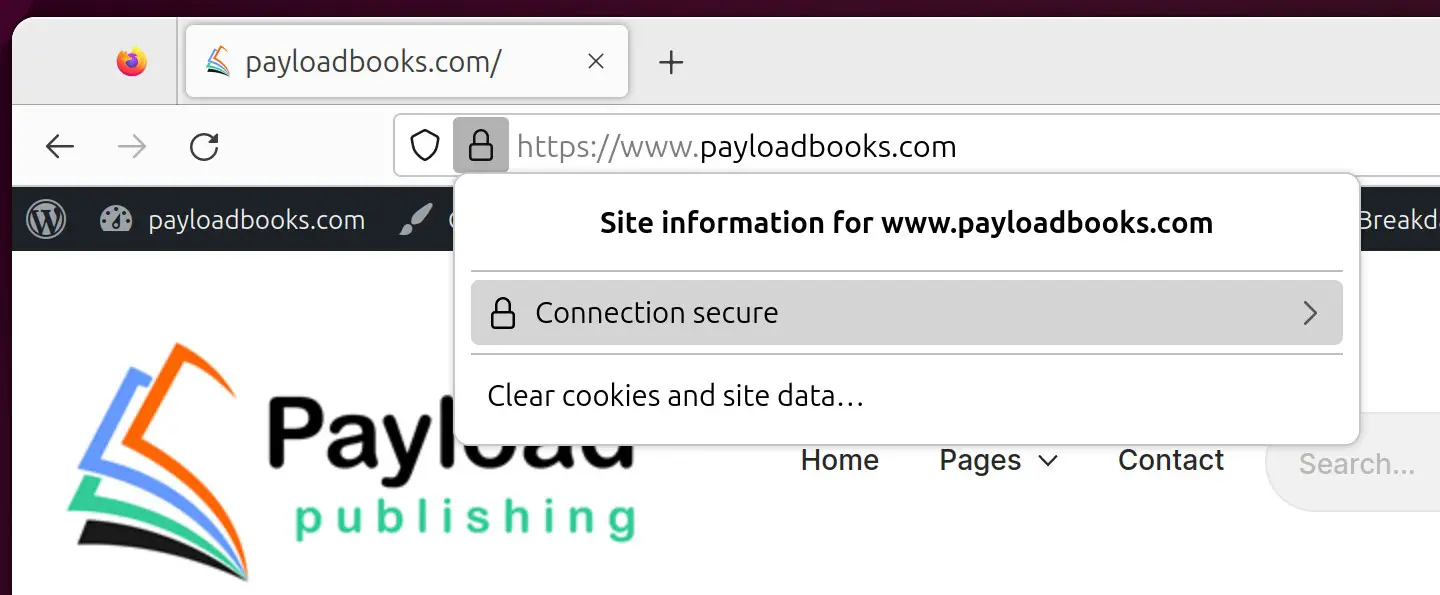
As a final test, open a browser window and navigate to your domain using the https:// prefix. The page should load as before, and the browser should indicate that the connection between the browser and server is secure (usually indicated by a padlock icon in the address bar, which can be clicked for additional information):
Summary
An AlmaLinux 9 system can host websites by installing the Apache web server. Insecure (HTTP) and secure (HTTPS) websites can be deployed on AlmaLinux 9. Secure websites use either Secure Socket Layer (SSL) or Transport Layer Security (TLS) to establish encrypted communication between the web server and client through public, private, and session encryption, together with a certificate issued by a trusted Certificate Authority.